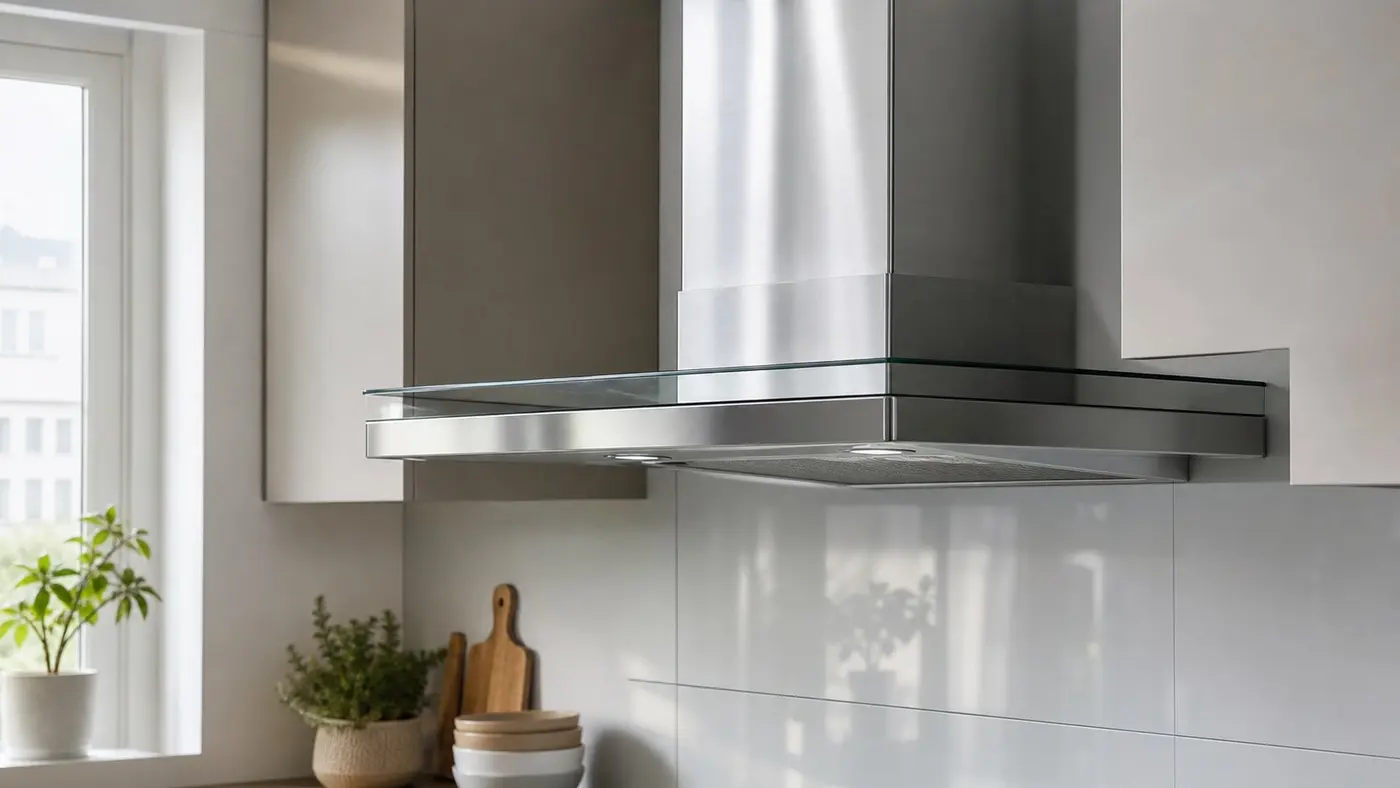
If you are looking up how to clean a range hood, chances are the problem is no longer a few visible smudges near the light. It is usually that awkward stage where the hood still looks passable from a distance, but the underside feels sticky, the buttons drag under your fingers, and the air in the kitchen keeps a faint fried smell long after dinner. In Prague flats, especially smaller kitchens with recirculating hoods, that greasy film rarely stays on the hood alone. It spreads to cabinet tops, tiles, and the side of the fridge.
That is why I do not love the usual advice of "just use baking soda on everything." Some hoods have stainless steel fronts, some have painted trim, some mix glass, plastic, and delicate edges in one small unit. Metal grease filters can often be washed. Carbon filters usually cannot. Fresh residue behaves very differently from old sticky grease in kitchen air that has been building up since winter. If you treat all of it the same way, you either waste time or damage the finish.
Why the range hood is often the dirtiest part of the kitchen, even when it does not look dramatic
A range hood collects more than smoke. It pulls in a fine aerosol of grease and steam that rises from pans, woks, soups, and anything you fry in oil. That mist cools down and settles on nearby surfaces. Some lands on the visible cover. A surprising amount ends up on the underside lip, inside the filter mesh, and on the cabinet surfaces around it.
There is a real difference between a light film and old sticky grease in kitchen corners. A light film feels slick and wipes off with mild detergent. Older buildup turns tacky, grabs dust, and starts to look yellow or gray. Once that happens, the problem is no longer cosmetic. The grease holds odors, catches airborne dust, and makes the whole kitchen feel dirtier than it looks.
I have seen this a lot in rented flats and family kitchens where people clean regularly but skip the hood for months. The counter gets wiped. The hob gets attention. The hood only gets a quick pass on the front panel. Then one day the smell of old frying oil seems to live in the room. Usually the filter and the underside edge are the answer.
First identify the hood type and surface
Before you start spraying anything, take one minute to work out what you are actually cleaning. This step matters more than people think.
Stainless steel, painted surfaces, glass, and plastic need different handling
Stainless steel is generally the easiest. Warm water, mild dish soap, and a soft microfiber cloth do most of the job. You still need restraint. Abrasive pads leave fine scratches, and circular scrubbing can make the finish look worse than the grease did. Wipe with the grain if the steel has a visible brushed direction.
Painted or coated surfaces are less forgiving. Strong alkaline degreasers can dull the finish, especially along edges. Glass panels look sturdy, but dried-on grease often tempts people into scraping or harsh rubbing. That can leave visible marks near corners and trim. Plastic around lights and buttons is another weak point. It clouds fast.
Metal grease filters and carbon filters are not interchangeable
Metal grease filters are usually the washable part. Bosch says metal ventilation filters can be washed with warm soapy water and notes that dishwasher cleaning may cause discoloration. Samsung gives similar guidance and also points out that charcoal filters in recirculating models need replacement once they stop working well.
Carbon or charcoal filters are there for odor control in ductless setups. In many models, they are not washable at all. If you soak them because they look dirty, you do not refresh them. You ruin them.
What not to do
- Do not spray strong product directly into electrical controls or lights.
- Do not use steel wool or the rough side of a sponge.
- Do not let degreaser dry on painted trim, glass, or plastic.
- Do not soak a charcoal filter unless the manual explicitly says it is washable.
- Do not put a damp filter back into the hood.
How to clean a range hood step by step without aggressive scrubbing
People often assume the answer is force. Old grease usually responds better to dwell time than brute scrubbing.
1. Protect the area and cut the power
Turn the hood off and, if you are cleaning close to the light and controls, disconnect power if practical. Cover the hob with an old towel. When loosened grease starts dripping, it is dark, messy, and annoying to clean twice.
Get two microfiber cloths, a bowl of warm water with a little dish soap, a soft brush or old toothbrush, and a surface-safe degreaser if you need extra help. Test anything stronger on a hidden spot first.
2. Remove and soak the grease filters
This is where range hood filter cleaning becomes easier or much more annoying. Let the metal filters soak in hot, not boiling, water with detergent. Give them time. Twenty to thirty minutes is often more effective than any furious scrubbing session.
If your model allows dishwasher cleaning, it is an option. Just remember the tradeoff: convenience versus the chance of duller-looking metal afterward. For many people, hand washing is slower but safer visually.
3. Clean the hood body in small sections
Do not flood the surface. Dampen the cloth, wring it well, and work section by section. On sticky residue, apply product to the cloth or a small area, let it sit briefly, then wipe. Once the cloth starts smearing brown grease around, switch sides or rinse it. Otherwise you are just relocating the dirt.
4. Deal with corners, buttons, and the lower edge carefully
The lower lip above the hob is often the grimiest hidden strip on the whole unit. Buttons collect a mix of grease and skin oils. Corners trap hardened residue. A lightly damp toothbrush or cotton swab works better here than heavy spraying. This is also where finish damage happens fastest, so patience beats pressure.
5. Dry everything properly
Clean is not the end point. Dry is. Filters need to be fully dry before they go back in. Dampness trapped inside the mesh or hood cavity can hold odors and leave marks on metal surfaces.
Filters are where most of the real dirt sits
If the hood still smells stale or seems weak after you wipe the outside, the filter is usually the missing piece.
When to clean a filter and when to replace it
For a typical home kitchen, a metal grease filter deserves a quick check every month and a proper wash every one to two months. Frequent frying shortens that interval. Small kitchens with weak ventilation shorten it too.
Carbon filters follow a different schedule. Many manufacturers suggest replacement every three to six months depending on cooking frequency. If smells linger, airflow seems weak, and the hood sounds busy without doing much, the carbon filter may simply be done.
Signs the filter is no longer doing its job
You notice grease on range hood surfaces again soon after cleaning. Odors stay in the room longer. Cabinet tops start feeling tacky. The kitchen may look tidy, yet the air feels heavy after cooking. That is usually not imagination. It is a maintenance issue.
How to slow the return of sticky grease on cabinets and tiles
The best kitchen degreasing habit is boring and short. That is why it works.
After heavier cooking, wipe the hood underside and the nearest splash surfaces while the residue is still fresh. Not the next morning. Fresh grease lifts easily. Old residue fights back.
If you use a recirculating hood, let it run for a few extra minutes after cooking so it can keep pulling steam and aerosol out of the immediate area. Then air out the room properly. A short burst of real ventilation usually does more than leaving one window cracked for hours.
The mistakes I see most often are simple:
- Turning the hood on too late.
- Running it on the lowest speed during heavy frying.
- Cleaning only the visible front panel.
- Using oily polishing products that attract dust afterward.
When professional kitchen degreasing makes more sense
Sometimes the hood is the project. Sometimes it is only the warning sign.
If grease has spread to the top of cabinets, the light fittings, the wall tiles, and the side panels of appliances, you are no longer dealing with a single appliance-cleaning job. You are dealing with full kitchen degreasing. That is common in post-tenancy flats, neglected kitchens, and homes where a lot of frying happens without strong extraction.
This is usually the point where people underestimate the scope. They spend Saturday cleaning the hood, then notice the same sticky layer on the cabinet crown, the pendant lamp, and the upper tiles. In that situation, a proper deep kitchen clean is often more rational than chasing one greasy patch at a time.
Cistykout handles that kind of work in Prague regularly, especially before move-ins, after tenants, or when a kitchen has clearly passed the point of casual upkeep. If you want to try the home route first, keep the rule set simple: identify the surface, confirm the filter type, dissolve grease instead of attacking it dry, and stop before product damage becomes the bigger problem.
If the grease has already spread beyond the hood, you can send a no-pressure enquiry through the Cistykout contact page. In many kitchens, the real improvement comes not from a miracle spray, but from treating the hood, nearby cabinets, and the rest of the greasy zone as one job.