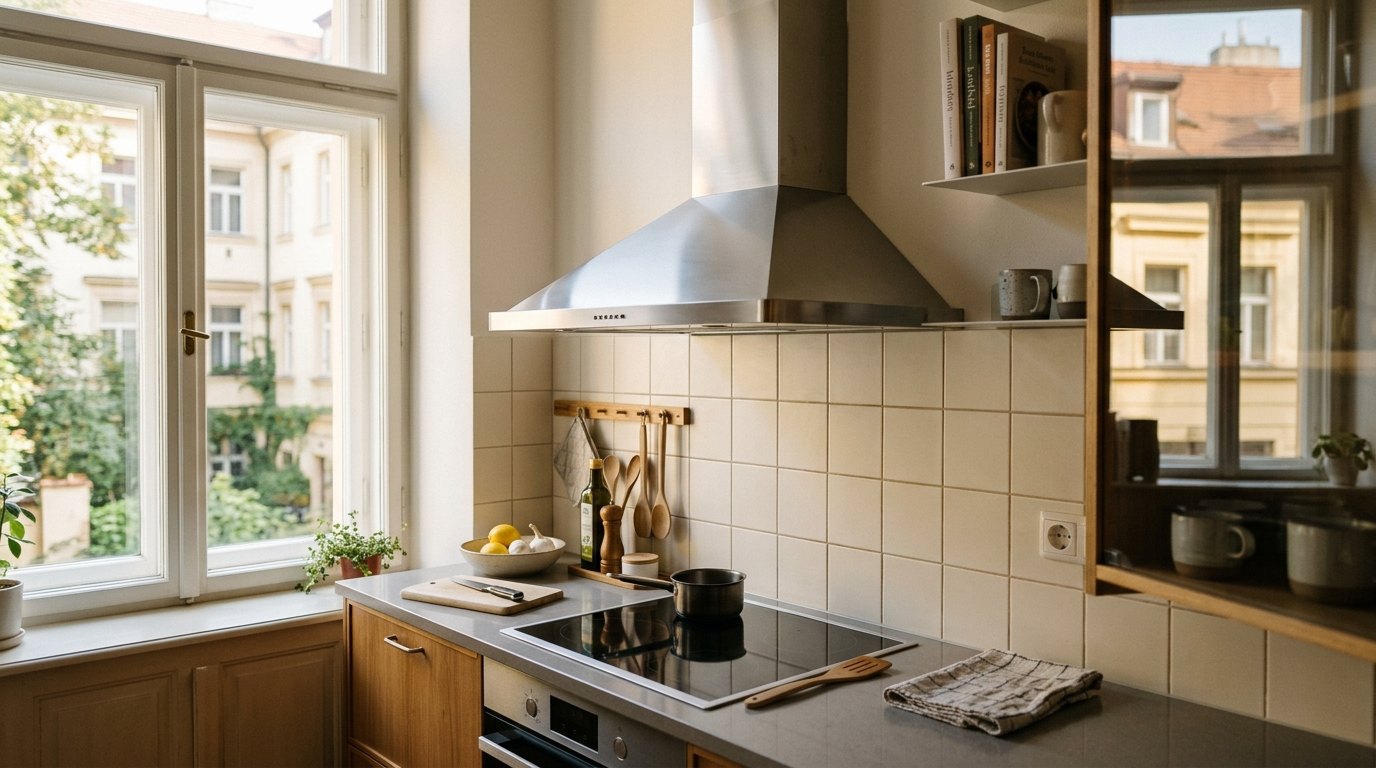
Most people search how to clean a range hood when the hood has already started fighting back. The underside feels sticky, the lamp has turned yellowish, and yesterday's frying still hangs in the flat the next morning. I see that a lot in Prague after winter. People cook more, air out less, and a fine grease mist settles not just on the hood but on cabinets, tiles, and whatever sits nearby.
Why the range hood is often the dirtiest part of the kitchen, even when it looks acceptable
A range hood lives in the worst spot in the room. Heat rises into it. Steam condenses around it. Grease sticks to it. Dust then turns that grease into a heavier film. In the early stage, the problem is easy to miss. From eye level the hood can still look fine. Run a finger along the lower edge and the truth shows up immediately.
There is a real difference between a light film and old sticky grease. A newer film usually comes off with the right cleaner and a soft cloth. Older buildup darkens, traps odor, and smears when people attack it too quickly. That is where a lot of damage starts. Someone grabs a strong degreaser, a rough pad, and a bit of determination, then ends up with fine scratches on stainless steel, dull spots on painted metal, or cloudy trim around plastic buttons.
Not long ago I saw this in a flat near Flora. The hob and worktop were cleaned regularly, so the kitchen looked decent at first glance. Once the filters came down, the whole story changed. Grease sat inside the rim, above the cabinets, and around the light panel. Nothing dramatic in isolation. Together, though, it created that heavy kitchen feeling people notice before they know why the room feels stale.
A clogged hood also pushes grease outward. If airflow drops, odors stay in the room and airborne residue lands on nearby surfaces faster. That is why kitchen degreasing often turns into a wider job than people expected. The hood is usually the first place to inspect, not the last thing to wipe on the way out.
First, identify the hood type, surface, and filter
Before you clean anything, stop and sort out what you are dealing with. Is the outer shell stainless steel, painted metal, glass, or plastic? Does the hood use washable metal grease filters or replaceable carbon filters? And are you dealing with recent cooking residue or an old sticky layer that has been sitting there for months? The method changes with each of those details.
Stainless steel, painted surfaces, glass, and plastic do not tolerate the same approach
Stainless steel is durable, but it still marks easily if the wrong tool touches it. Abrasive cream cleaners and rough scrub pads leave fine lines that suddenly become obvious under under-cabinet lighting. Painted finishes can react badly to strong alkaline products. Glass is easier, though it still needs care around edges and joints. Plastic buttons and trims are often the first parts to go cloudy if the product is too harsh or sits too long.
So my rule is simple. Start milder than the internet tells you to. Warm water, a kitchen degreaser used as directed, a soft microfiber cloth, and an old toothbrush for detail work will handle more than most people expect. When grease is old, dwell time matters more than force. Let the cleaner soften the layer first. If you are unsure about the finish, test on a small hidden spot before you commit.
Metal filters and carbon filters are different jobs
Washable metal grease filters can usually be cleaned well at home. A dishwasher sometimes helps, but it is not a magic answer. If the mesh is heavily loaded, the dishwasher may soften part of the residue and leave the rest behind. A long soak in hot, not boiling, water with a suitable degreaser often works better before any brushing.
Carbon filters are another story. In many recirculating hoods, they are designed to be replaced rather than washed. People still try to rescue them with dish soap, baking soda, or vinegar because replacement feels annoying. Usually that just shortens their life and leaves the odor problem unresolved. If your hood recirculates air, the manual matters here.
What I would never use on delicate edges and finishes
I would skip steel wool, harsh abrasive powders, and heavy-duty alkaline products unless the manufacturer clearly says they are safe. I would also be careful with vinegar. Online advice treats it like a universal answer. It is not. Around some coatings and seams it causes more trouble than it solves. The usual baking soda trick can do the same. Sometimes it helps. Sometimes it leaves grit behind and turns one cleaning pass into three.
How to clean a range hood step by step, without turning it into a scrubbing contest
Order matters more than effort. If you clean in layers, the whole job gets easier.
1. Prepare the area and disconnect power if possible
Turn the hood off and disconnect it if the setup allows it. Cover the hob with an old towel so loosened grease does not drip onto the cooking surface. Set out two cloths, one for wet cleaning and one for drying and buffing. Have a sink, basin, or large tray ready for the filters.
2. Soak the filters first
People skip this constantly, then wonder why range hood filter cleaning feels endless. Put the filters into hot water with a degreasing product and leave them there for at least 20 to 30 minutes if the buildup is old. The point is to loosen the residue, not to prove you can scrub harder than it can stick.
If the filters are dark and gummy, change the water after the first soak. A second bath often does more than ten extra minutes of brushing. In neglected rental kitchens, that small step can save a lot of frustration.
3. Clean the outer shell in smaller sections
Do not spray the entire hood at once. Work in smaller zones so the product does not dry before you wipe it. On stainless steel, follow the grain. On glass, use a lighter amount of product to avoid haze. On painted surfaces, avoid long contact time.
The lower edge and the area around the light are usually the worst. A warm damp cloth held there for a few minutes often works better than immediate scrubbing. For seams, corners, and buttons, use a toothbrush or cotton swab. That part needs patience more than strength.
4. Return to the filters and dry everything properly
After soaking, clean the filters carefully and check the corners of the mesh. If they still feel greasy, give them a second shorter soak instead of going rough. Before reassembly, make sure the filters are fully dry. The shell, trim, and lower edges should be dry as well.
5. Check the surrounding surfaces too
If you are already dealing with grease on range hood surfaces, look at the cabinet tops, nearby tiles, and the light fitting close to the cooking zone. The best visual result often comes from clearing the film around the hood, not only on it. A hood can be clean while the kitchen still feels sticky.
Filters are where the real dirt often hides
The filter is the least glamorous part of the job and usually the most important. Once it is overloaded, airflow drops, odors stay longer, and grease starts building up elsewhere faster.
In a typical home, I would check a metal filter once a month. In a kitchen with frequent frying, sooner. If it feels tacky, has yellowed corners, or looks greasy under the light, do not leave it for later. Old residue becomes stubborn very quickly.
Replacement makes sense when a filter is bent, damaged, or still heavily coated after a proper soak and clean. With carbon filters, replacement is often the normal answer. If the hood makes noise but cooking smells still linger, the filter may be the real issue.
That is also why a dirty hood affects the whole room. Guests may never inspect the filter, but they notice stale fried smells and the greasy touch on nearby cabinets. Candles, sprays, and half-open windows are understandable attempts. They are still side moves if the filter is overdue.
How to slow the return of sticky grease on cabinets and tiles
A deep clean helps, but a short routine after cooking is what keeps the kitchen from slipping back into the same state.
Let the hood run for a few minutes after cooking instead of switching it off the second the pan leaves the hob. After frying, wipe the lower edge of the hood and the nearest cabinet surfaces with a lightly damp cloth and a tiny amount of degreaser. Two minutes is enough. Honestly, those two minutes often separate normal upkeep from a miserable weekend cleanup.
Ventilation matters too. A short blast of cross-ventilation works better than leaving one window tilted all afternoon. Steam and airborne grease need a quick exit. In smaller Prague flats, where the kitchen opens into the living area, that difference is obvious.
The same mistakes keep showing up. The hood goes on too late. It gets switched off too early. Filters are cleaned only when they are visibly bad. Upper cabinets are ignored completely. In compact flats around Karlín, Nusle, or Holešovice, that pattern shows up fast. The room feels heavier, smells stay in fabrics longer, and the kitchen never quite feels reset.
A small weekly reset helps too. Not a deep clean, just five extra minutes. Wipe the lower rim, hold the filter up to the light, clear the first strip of tile near the hob. Keep that habit and the next full kitchen degreasing session moves much further away.
When professional kitchen degreasing starts to make sense
Home maintenance works well while the buildup is still manageable and the surfaces are not especially risky to clean. But some kitchens move beyond the point where a casual evening cleanup is realistic.
The classic example is a rental flat after cleaning after tenants move out, a kitchen that has only been wiped on the outside for years, or a household where frequent cooking has pushed grease onto cabinet tops, tile edges, lights, and the space above the hood. At that point, this is no longer only about how to clean a range hood. It becomes a full kitchen degreasing job.
Professional help also makes sense when you do not want to gamble with expensive finishes. Stainless steel hoods, painted cabinet doors, awkward corners, and old sticky buildup can turn into a frustrating project very quickly. Sometimes the sensible move is not more effort. It is a better system and the right products.
In practice, the best result often comes from pairing hood cleaning with a full kitchen deep clean. Filters, casing, cabinet tops, splashback areas, trim around the hob, and neglected edges get handled in one pass. You feel the difference as much as you see it. The air clears faster, smells stop hanging around, and the next few weeks of maintenance are much easier.
If sticky grease comes back quickly, the filter is overdue, cooking odors stay trapped, and the kitchen still feels grimy after a basic wipe-down, it may be time to ask for help. ČistýKout is a Prague-based cleaning option for exactly that kind of situation. A quick note through the contact form is enough to find out whether this is still a manageable home job or whether the kitchen would benefit from a professional degreasing visit.