When people deal with how to clean a showerhead from limescale, it usually starts subtly. A few jets spray at an angle, the flow is weaker, and after showering, a fine white film remains on the faucet. Then comes the moment when instead of a steady stream, water splashes sideways, and the bathroom looks like someone has showered an elephant there. At that moment, many households plan to buy a new head or perhaps think about a problem in the plumbing. In reality, the problem is often much simpler: accumulated limescale.
It’s more common than people think. Hard water is a reality in many parts of the country, and bathrooms without good ventilation don’t help much. In apartment buildings, older faucets are often mixed with newer heads, and deposits appear faster than one would expect. The good news is that cleaning a showerhead is usually not complicated. You just need a few commonly available household items and a little time. Don’t overdo it with aggressive chemicals or brute force.
How to tell if the problem is really with the showerhead
Before you start mixing vinegar or looking for citric acid, it’s good to confirm that the problem is indeed limescale. A typical signal is an uneven flow. Some jets work normally, others barely drip, and some spray sideways. Another common symptom is a visible white or slightly yellowish coating around the openings, on the thread, or on the edges of the showerhead. On black, brushed, or matte surfaces, the limescale is less noticeable.
You can do a simple test. Turn on the shower to full flow - from the faucet and then switch to the shower. Notice if the pressure is weak already from the faucet or only in the head. If water flows normally from the faucet and only struggles in the showerhead, you can be almost certain. In most households, the culprit is indeed in the head, as fine jets clog with limescale the fastest.
Sometimes it seems that the shower is old and a new one will be needed. In the end, it may be enough to unscrew the head, disassemble the filter, let it soak for an hour and a half in a warm solution of citric acid, and gently rub the silicone jets. The water flow will then return almost immediately. This is exactly the situation that a proper home intervention can solve and save money and time.
What to prepare before you start
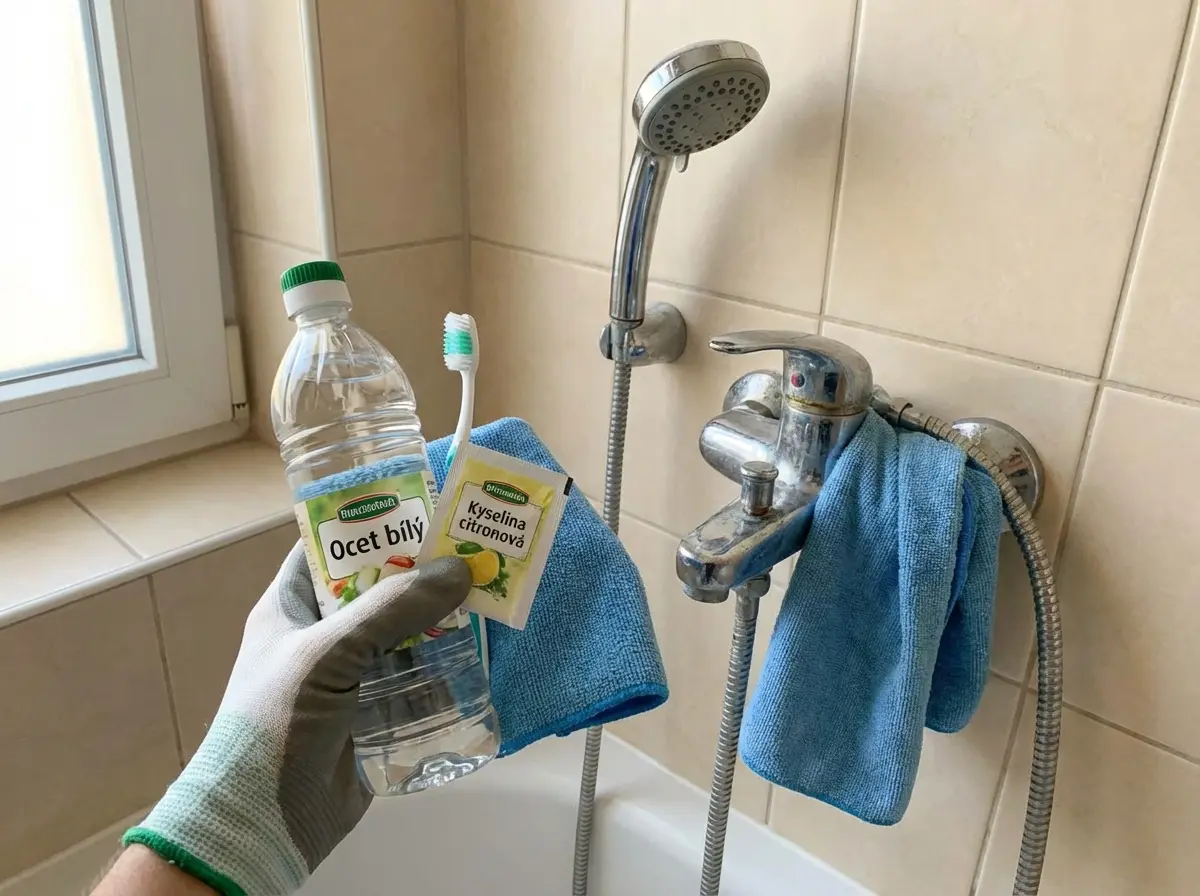
For regular cleaning of the showerhead, professional equipment is not needed. Just the things that most households have on hand:
- white vinegar or citric acid
- a bowl, bucket, tall container, or sturdy bag
- a rubber band or string if you leave the head attached
- a soft microfiber cloth
- an old toothbrush
- rubber gloves if you have sensitive skin
- optionally a toothpick or wooden skewer for very careful work around deposits
Before cleaning, take note of what material the head is made of. Chrome can withstand regular household cleaning quite well, but cheaper surface finishes, matte black, or painted parts tend to be more sensitive. It’s wiser to start with a weaker solution of citric acid and a shorter soaking time. Vinegar works great, but it’s not ideal to leave sensitive surfaces in it for too long.
A practical detail that people often underestimate: prepare a dry cloth and a place to set the head down. When you place it on a wet edge of the sink or in the tub among the remnants of the cleaning solution after soaking, the deposits and water will flow back to where you don’t want them.
Before you submerge the head, check the filter and thread
Many showerheads have a small filter at the connection to the hose. This is where small particles, rust from older pipes, or a mixture of limescale and fine dirt can get trapped. If you only clean the face of the head and leave the filter alone, the result is often half-hearted. Therefore, it’s worth checking inside when unscrewing.
Carefully clean the thread and seal with a cloth. If the rubber is hardened, twisted, or already cracked, the fault is not in the cleaning itself. In such a situation, it’s good to replace the seal; otherwise, the shower will drip after reattaching, and one may easily feel that the cleaning made the problem worse. In reality, it just revealed something that was already worn out.
Step-by-step procedure
1. Remove the showerhead if possible
When the head can be unscrewed, the job is significantly easier. You have it under control and can clean the thread better. If you don’t want to take it off or the construction doesn’t allow it, fill a sturdy bag with the cleaning solution and tie it around the head so that the jets are submerged.
Even if the connection is tightly secured, don’t immediately grab the pliers. Materials like chrome or any other shiny surface can be easily damaged, and you don’t want scratches on your shower. First, try to loosen the connection by hand - through a cloth. If that doesn’t work, gently use pliers over a folded towel and don’t apply too much pressure.
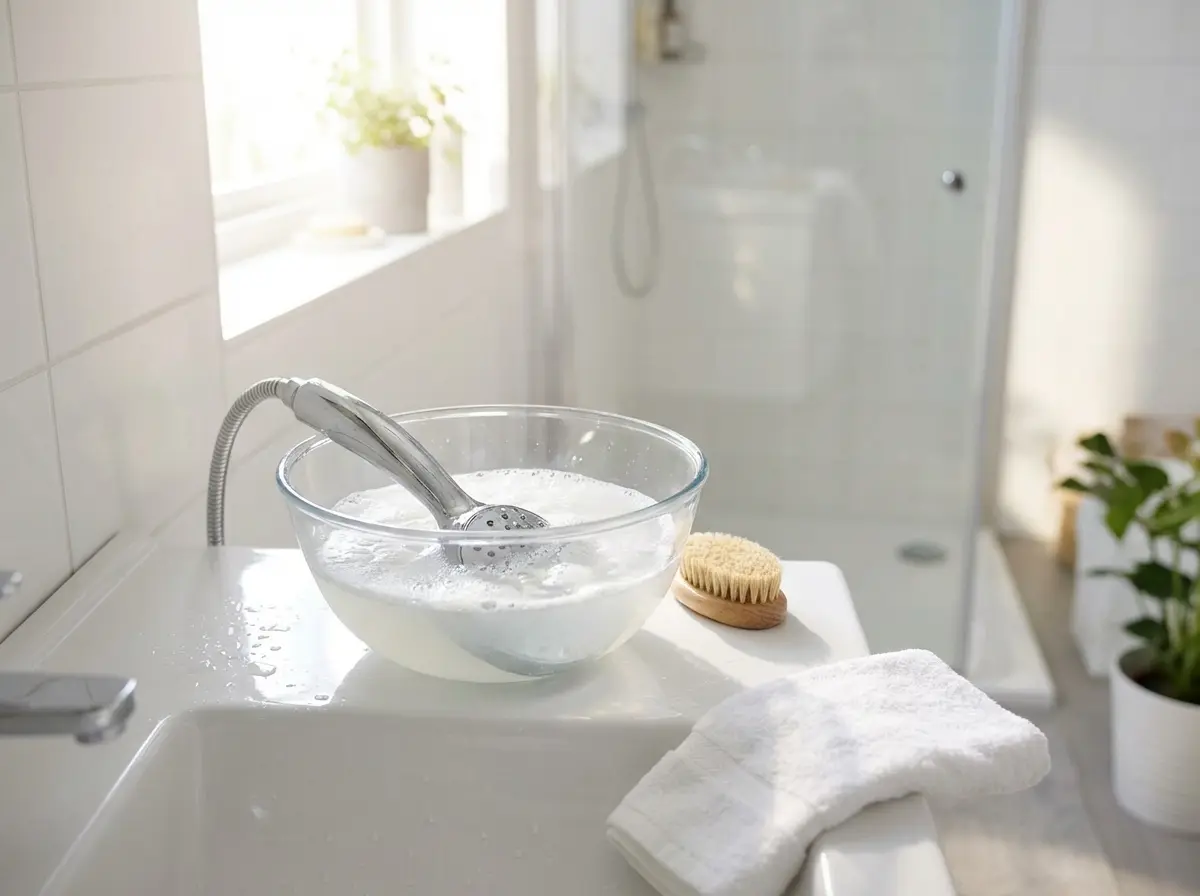
2. Vinegar or citric acid will help
For vinegar, a one-to-one ratio with warm water usually works. It’s not necessary to use pure undiluted vinegar unless it’s an extremely clogged head. For citric acid, a good base is one to two tablespoons per half a liter of warm water. The solution should be warm, not boiling. Too hot water can damage some plastics and seals.
Vinegar is more aggressive and handles stronger deposits well. Citric acid is more pleasant, less odorous, and tends to be gentler on surfaces. If you’re unsure about the material or have a designer head with a dark surface, it’s safer to start with citric acid.
3. Let the limescale loosen
Light deposits often soften after thirty to sixty minutes. For thicker layers, count on ninety minutes to two hours. Patience pays off here. People tend to try scrubbing the jets after ten minutes and use more force than necessary. The best work is done by time and a properly mixed solution.
I wouldn’t leave the head in vinegar overnight, especially not with cheaper sets from hobby markets or on black surfaces. This is one of the most common mistakes. One wants it to work as much as possible, and in the morning finds that the surface has dulled, the seal has absorbed odors, or the shine hasn’t returned even after rinsing.
4. Clean the jets and edges by hand
After soaking, take a soft brush and gently clean the face of the head, the edges of the jets, and the thread. For silicone jets, gentle rubbing with fingers can be very effective. The flexible silicone is designed to allow the loosened limescale to be mechanically removed without much pressure.
Use a metal needle, pin, or paperclip only with great caution, ideally not at all. With some models, you can irreparably damage or widen the opening, causing the water flow to be even more erratic after cleaning. If you need something more precise, a wooden skewer or toothpick is safer, and even then, do so carefully.
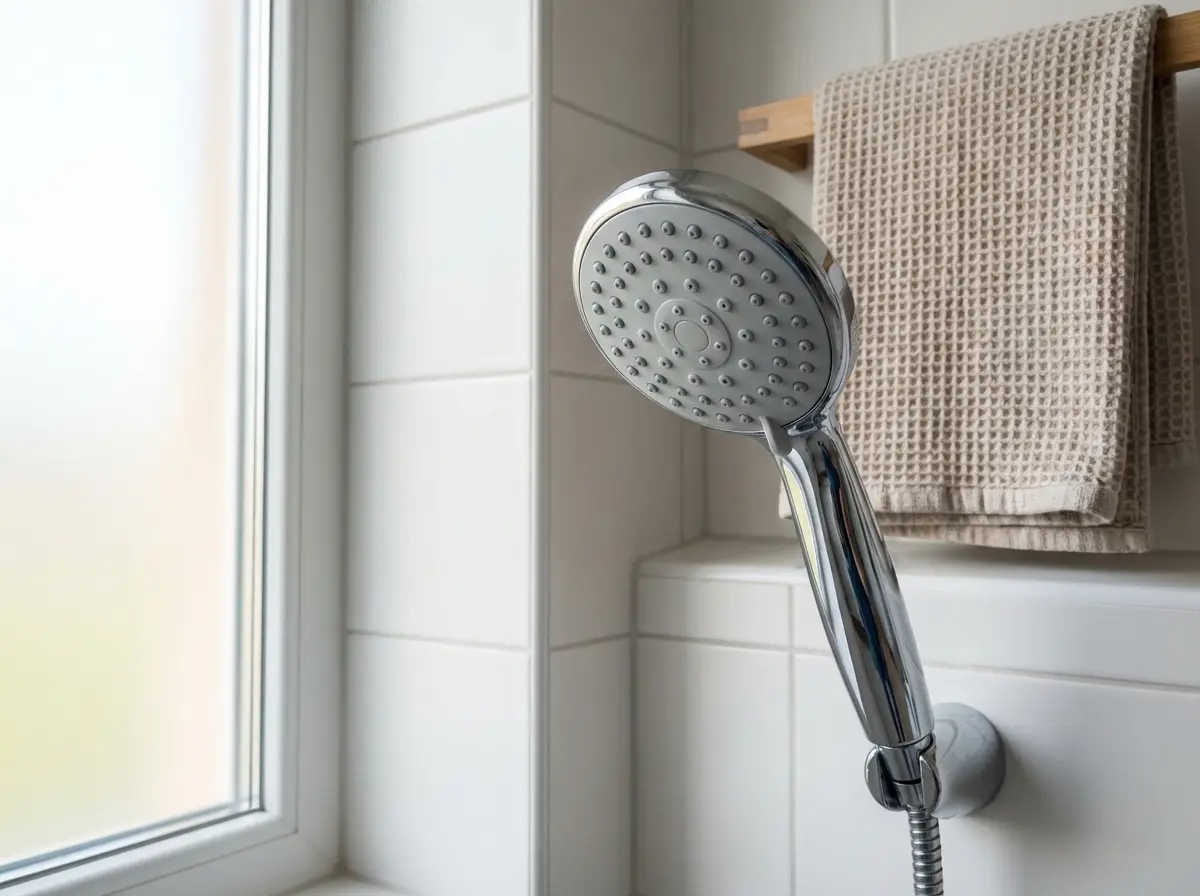
5. Rinse, reattach, and test the flow
After manually cleaning, thoroughly rinse the head with clean water. If you removed it, screw it back on and briefly turn on the shower to full. This will flush out any remnants of dissolved stone and small dirt. Finally, dry the head with microfiber. This last step seems inconspicuous, but drying slows down new spots, and the bathroom will look better immediately.
When to use vinegar and when to prefer citric acid
There is no one universal answer to the question of what is better. Vinegar is cheap, available, and really effective. When the showerhead is heavily clogged and it’s regular chrome, it’s often the quickest home solution. However, in a bathroom without a window, the vinegar smell can be quite unpleasant, and sensitive surfaces may not love it.
Citric acid is gentler, almost always more pleasant to work with, and is suitable for regular maintenance. For households that deal with limescale in the shower repeatedly, it’s often a more practical option. When you clean every few weeks and don’t want to risk damaging the surface, citric acid makes more sense.
A simple rule works well in practice: for regular maintenance, use citric acid; for really heavy deposits, cautiously use vinegar. If the head doesn’t look good even after one cycle, it’s better to briefly repeat the entire process than to immediately pull out an aggressive descaler from the drugstore.
The most common mistakes that ruin the head
This is the part that saves the most damage. Limescale itself is unpleasant, but it often doesn’t cause as much harm as a poorly chosen procedure.
Avoid these mistakes especially:
- steel wool or rough sponge on chrome or painted surfaces
- long soaking without checking the condition of the head
- strong chemicals without verifying if they are suitable for the specific material
- metal piercing of jets with great force
- reattaching the head without checking the seal and filter
- ignoring the manufacturer’s instructions if you still have them available
In rentals, it’s good to be even more cautious. If someone damages the surface of the faucet or the thread, the problem is no longer just aesthetic. It can lead to complaints, part replacements, or unnecessary debates with the owner. In home cleaning, gentleness and patience usually pay off more than force and aggression.
How to prevent limescale from returning
If you don’t want to deal with how to clean a showerhead every little while, a simple routine helps. After showering, briefly rinse the head with cooler water, and if you have half a minute to spare, wipe it down with a cloth. It’s not perfectionism. You’re just not giving the droplets a chance to dry.
In households with hard water, a short preventive soak every two to four weeks makes sense. It doesn’t have to be a big operation. A weaker solution of citric acid, twenty to thirty minutes, and a rinse will suffice. If you do this regularly, the head usually never reaches a state where half the jets don’t work.
Regular ventilation of the bathroom also helps. Humidity alone doesn’t create limescale, but it supports an environment where deposits linger longer and surfaces remain stained. In an apartment without a window, it’s of course worse, but even a brief airing through the door or a running fan after a shower makes a difference.
When home cleaning is no longer enough and replacement makes sense
Sometimes the head is simply at the end of its lifespan. If the jets are cracked, the plastic is brittle, the thread is damaged, or the flow worsens again a few days after thorough cleaning, home care won’t save the problem. It’s not your fault. The material has its limits, and after years of use, wear accumulates.
A signal for replacement is also when water doesn’t flow evenly even after cleaning and rinsing, or when you hear loose parts inside. At such a moment, it’s not worth spending another evening trying. A new, higher-quality head is often cheaper than it seems, and you’ll notice the difference in comfort immediately.
When it makes sense to call for help
Most households can definitely manage to clean the showerhead themselves. However, if you see strong deposits on the screen, faucet, joints, and the entire bathroom, it’s more of a signal that the limescale is returning broadly and more thorough maintenance will be needed. That’s when it makes sense to look at the bathroom as a whole, not just one head.
Professional cleaning not only helps with shine. It often reveals where limescale lingers due to poor drying, clogged joints, or long-term unsuitable products. For households with hard water and little time, this is often more practical than constantly putting out the same problem piecemeal.
Summary to take away from the article
If you’re dealing with limescale in the shower, start simply and gently. In most cases, it helps to remove the showerhead, soak it in a solution of vinegar or citric acid, gently clean the jets, and rinse everything thoroughly. Not overdoing the time, not using rough tools, and checking the filter and seal makes the difference between a good result and unnecessarily damaged fixtures.
In other words, proper cleaning of the showerhead is not complicated; it just requires a calm approach. And when you make it a small routine, the shower will last longer functional, the bathroom will look cleaner, and you won’t feel like you’re fighting with the water flow from three different directions every morning.