When grease and burnt food build up inside an oven, most people postpone the job for as long as possible. That reaction is understandable. Oven cleaning feels messy, awkward and frustrating, especially if you start scrubbing too early and end up smearing softened dirt across every surface. The good news is that most household ovens can be cleaned without endless scrubbing if you break the work into a few simple stages and let the cleaning product do the heavy lifting.
This guide explains how to clean an oven safely and realistically in a normal home. It works for built-in and freestanding ovens alike. If the oven has months of baked-on grease, you may need two rounds instead of one. Even then, the smartest move is still the same: loosen the dirt first, wipe second, and only use extra pressure on the few spots that truly need it.
1. Set up the oven before you start
Turn the oven off completely and wait until it is cold. Remove racks, trays and any loose accessories. Then use a dry paper towel or a small hand brush to lift out crumbs and loose debris from the bottom. This quick step stops you from turning dry food scraps into muddy residue once moisture hits them.
- Have a microfiber cloth, soft sponge, gloves and a gentle degreaser or oven-cleaning paste ready.
- Avoid steel wool or harsh scouring powders on glass and seals.
- If your oven has pyrolytic cleaning or a special interior coating, check the manufacturer guidance before using any product.
2. Let the grease soften before you wipe
A common mistake is spraying cleaner and scrubbing immediately. Burnt grease does not respond well to impatience. Apply your chosen product evenly to the interior walls, but avoid heating elements and sensitive parts if the instructions say so. Thick paste-style cleaners are often easier to control because they cling instead of sliding straight to the bottom.
Give the product at least 20 to 30 minutes to work. For heavier buildup, leave it longer. While you wait, soak the racks and trays in warm water with a small amount of degreaser. That single habit can save the most effort of all, because the grease on the metal parts often releases long before you return to them.
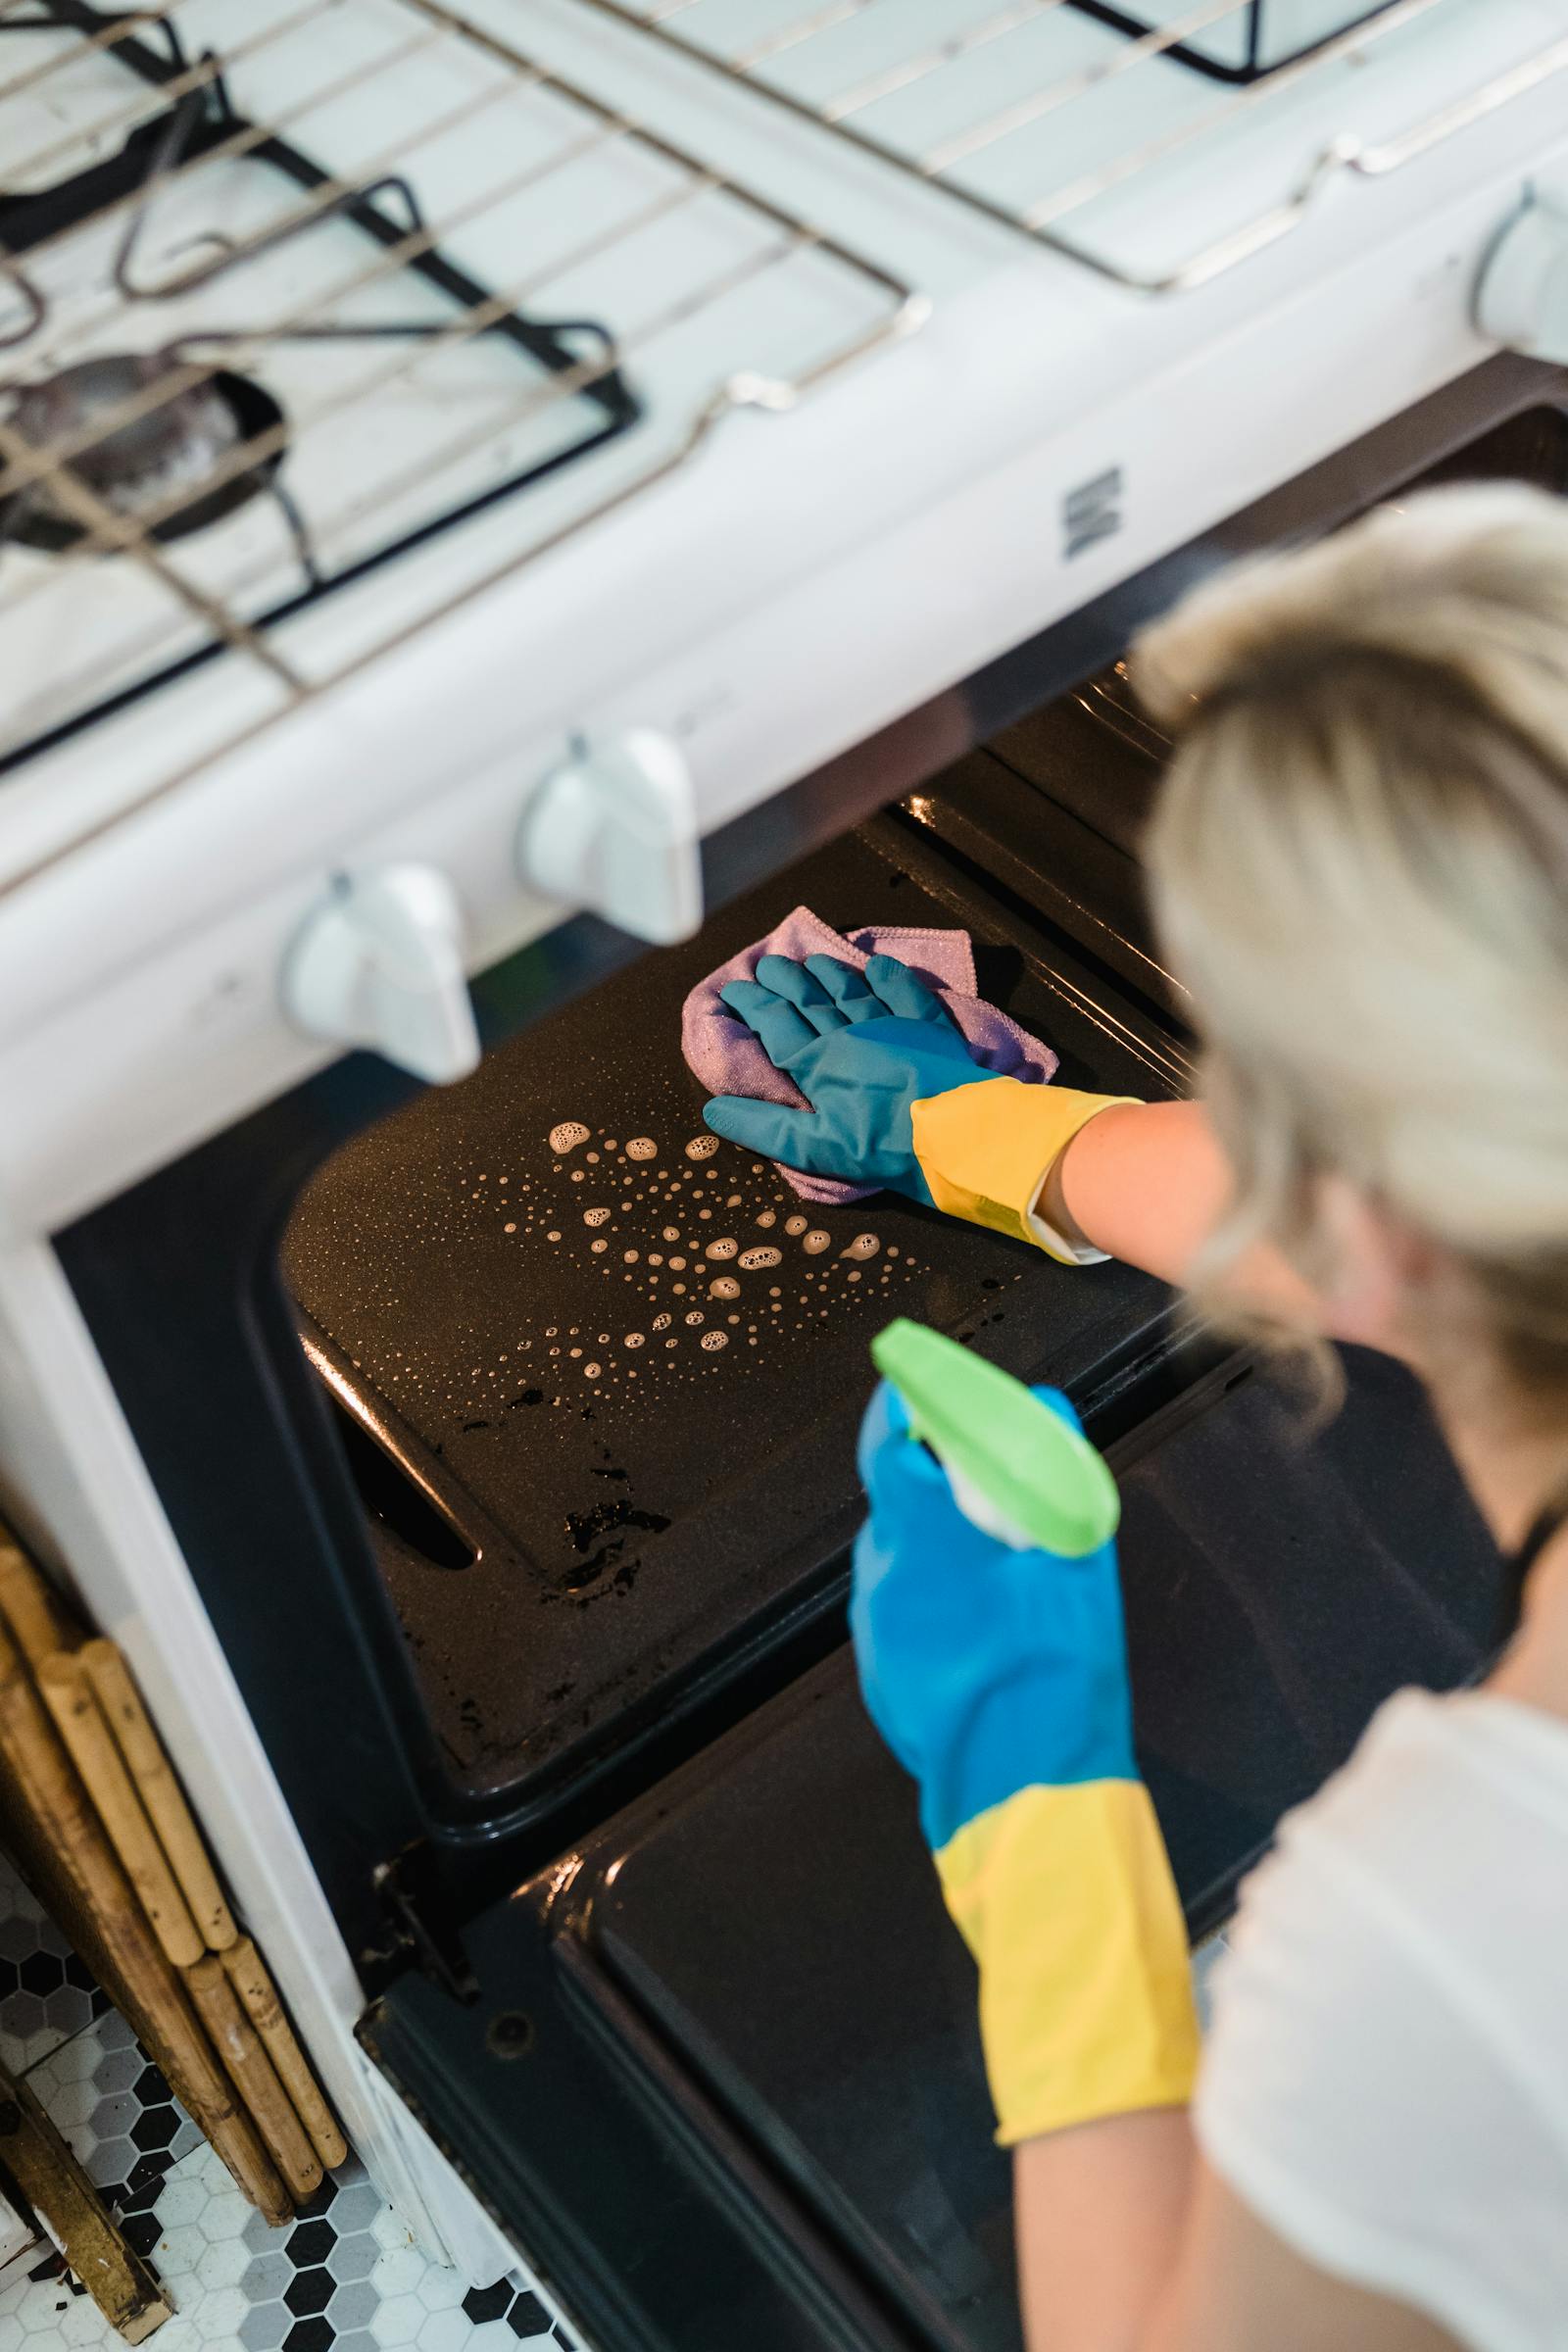
3. Clean from the top down
Once the dirt has softened, wipe the inside of the oven with a damp sponge or cloth. Start with the ceiling and back wall, then move downward. That order matters. Anything you loosen above will fall lower, and you do not want to dirty surfaces you have already cleaned. For corners and narrow seams, a soft detail brush or an old toothbrush is much more effective than brute force.
If dark burnt spots remain, do not immediately scrub harder. Reapply a little cleaner directly to those areas, leave it for a few more minutes and wipe again. That is the difference between a manageable kitchen task and a long, irritating battle.
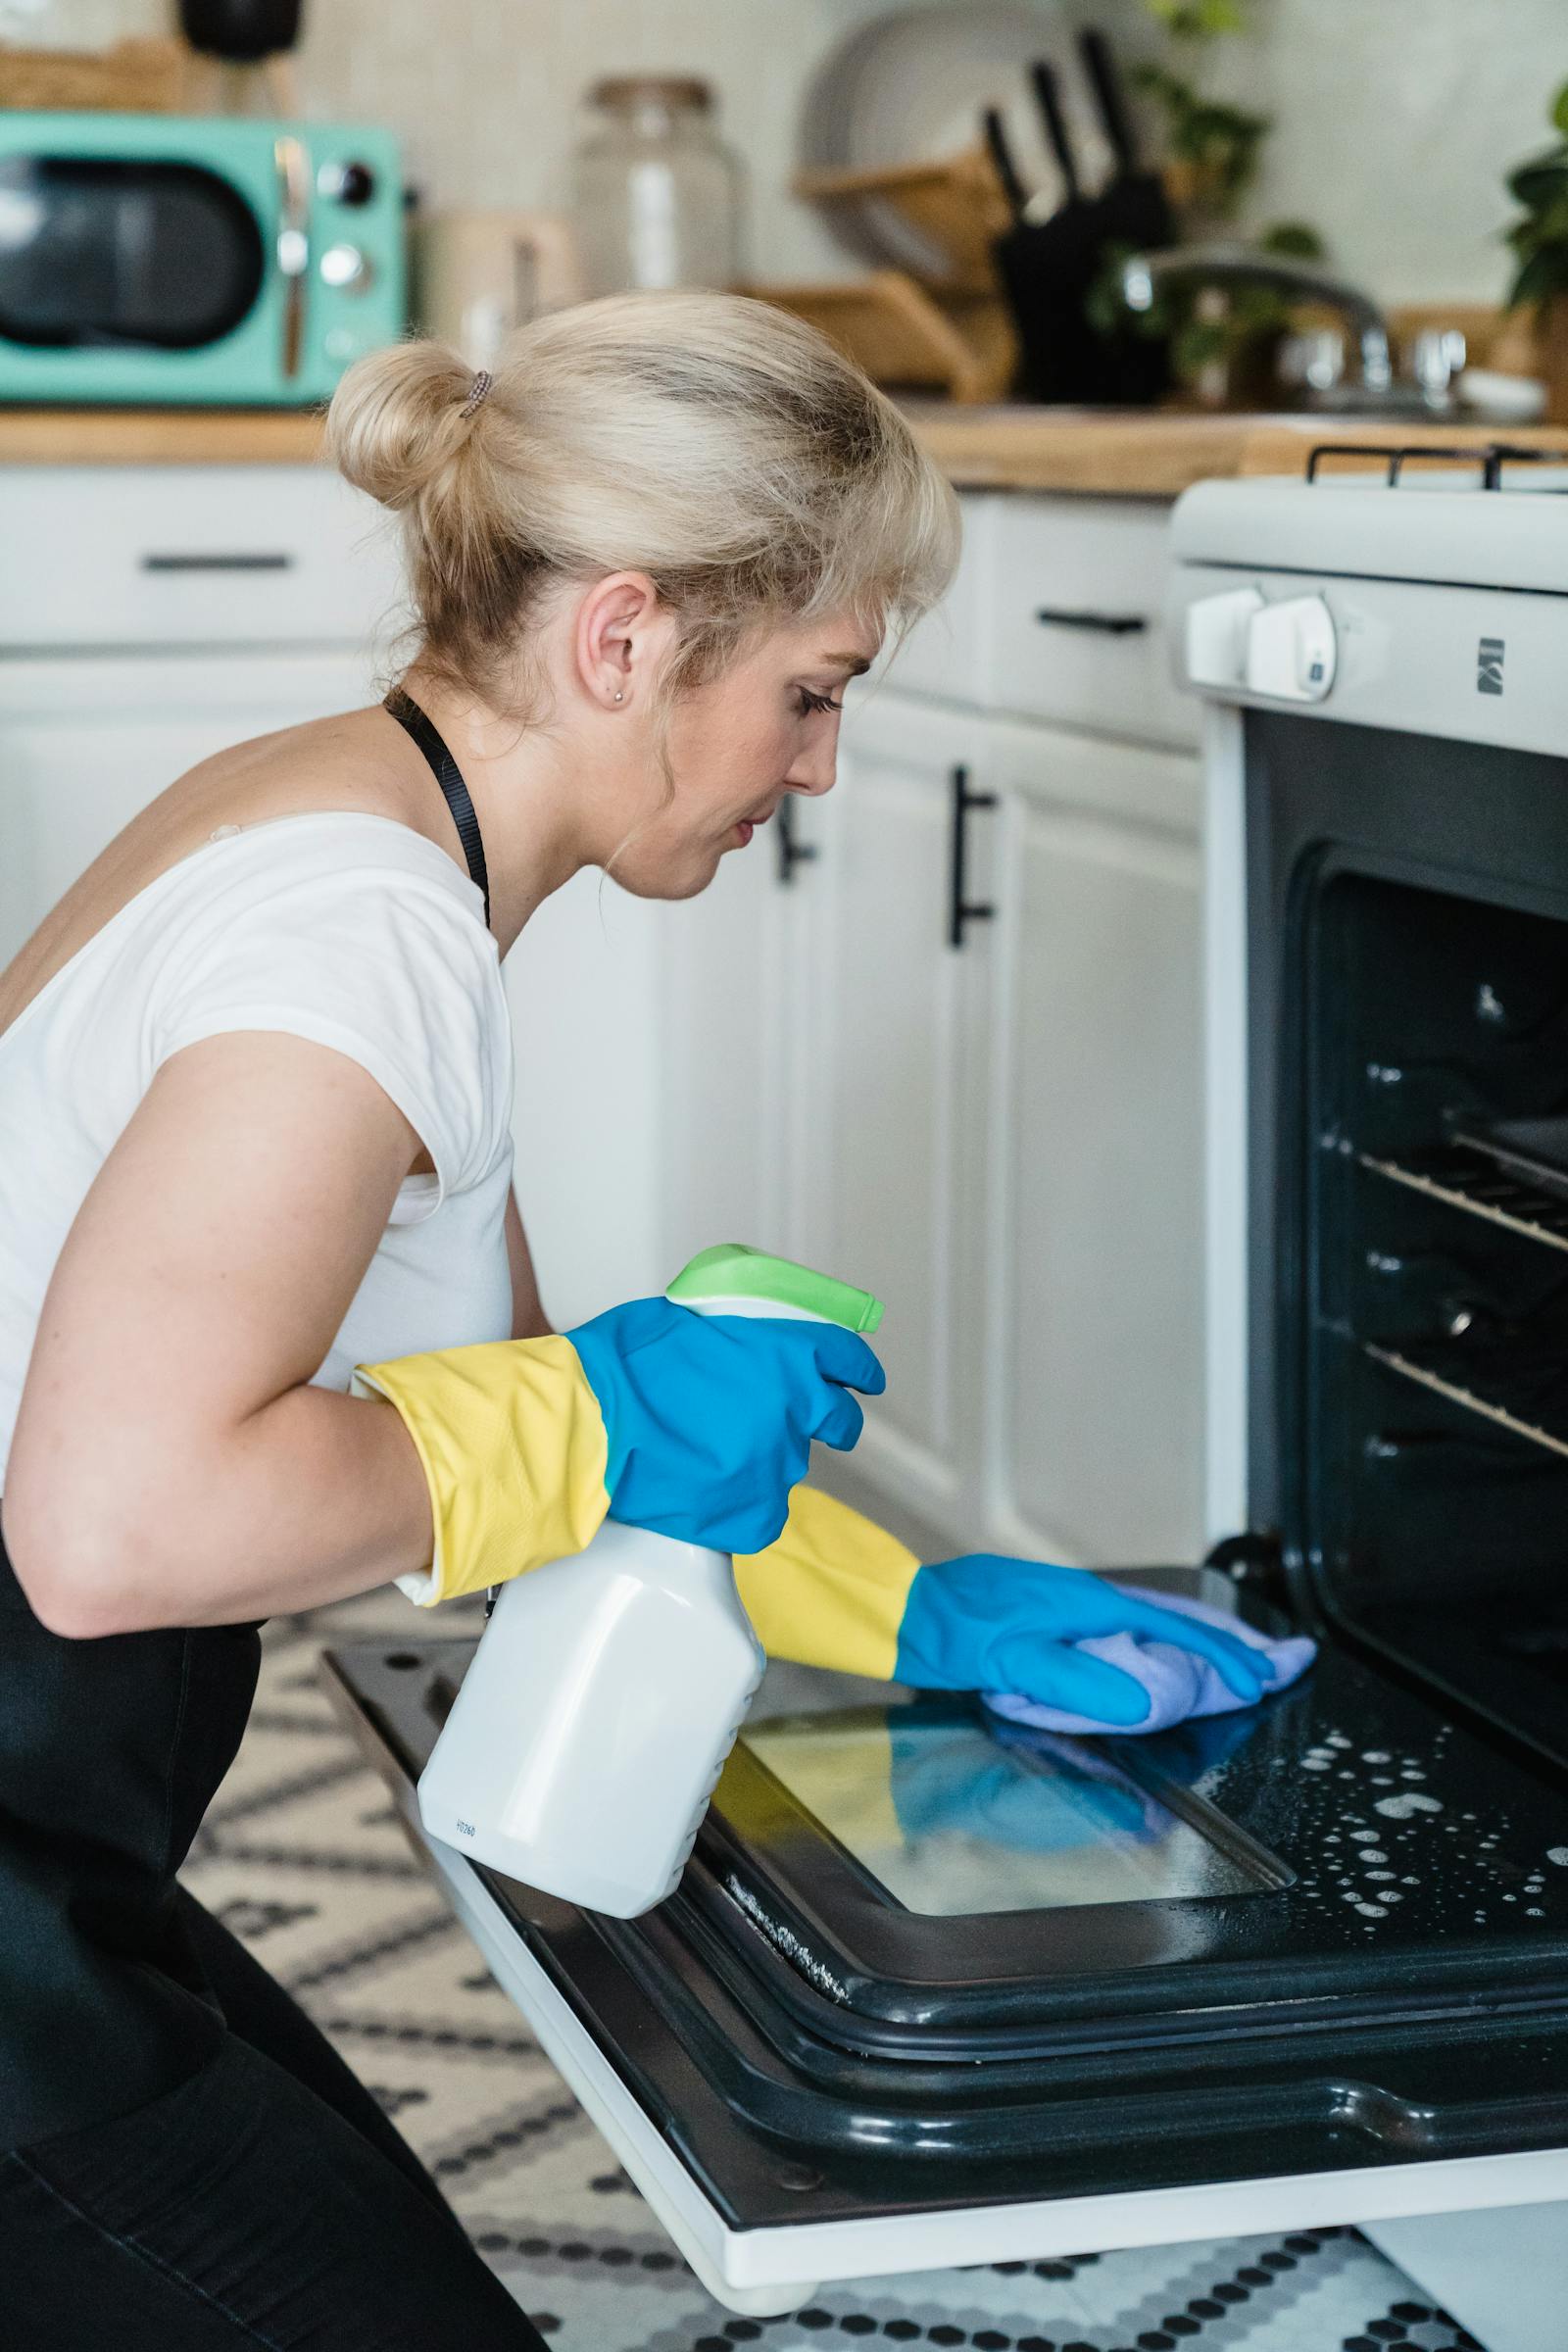
4. Treat the oven door glass as a separate task
The oven door glass is what people notice first, so even a mostly clean oven can still look neglected if the glass stays cloudy. Apply cleaner lightly, let it sit briefly, then lift away residue with the soft side of a sponge or a microfiber cloth. Follow with one clean damp cloth and one dry cloth to prevent streaks.
Avoid metal scrapers and rough pads. They may seem faster, but fine scratches become visible over time, especially in daylight. If grease is stuck along the frame or near the seal, wrap a thin cloth around a wooden spoon or a plastic spatula to reach the edge without damaging anything.
5. Dry everything before reassembling
After soaking, clean the racks and trays with a sponge. If a few spots still hold on, another short soak is usually better than aggressive force. Before putting everything back into the oven, dry all parts properly. Leftover moisture can leave marks or create a stale smell the next time you heat the oven.
Finish by wiping the handle, the outer edge of the door and the control area. Those details make the whole appliance look genuinely clean rather than half-finished. If you cook often, a light weekly wipe and a more thorough monthly clean will always be easier than trying to rescue a heavily neglected oven in one exhausting session.
When it makes sense to call in help
Sometimes the oven is not the only problem. It may be part of a neglected kitchen, a move-out clean or a post-tenancy reset where greasy cupboards, extractor surfaces, tiles and hard-to-reach corners all need attention at the same time. In that case, a bigger deep-clean service is often the smarter option.
CistýKout can help you find cleaning support for one-off heavy jobs as well as regular household cleaning. So if you were looking up how to clean an oven because the whole kitchen has fallen behind, take this guide as a practical first step. If the job has already grown beyond what you can comfortably handle, a professional clean can save time, energy and repeat effort.