When people search for how to clean shower grout, they usually want one magic cleaner and ten easy minutes. Real showers work differently. Grout collects soap film, limescale, moisture, and sometimes mold little by little. The goal is not just to make the joints look lighter. The goal is to clean them without damaging the surface, the silicone, or the surrounding fittings.
A common mistake is to attack the problem with the strongest chemical on the shelf. That can leave you with irritated hands, dull patches, or grout that still looks tired. A better result usually comes from identifying the problem first and then using the right method.
Know what you are cleaning
Tile grout, silicone, and glazed tile are not the same material. Grout is often a mineral-based filler between tiles. Silicone is the flexible sealant in corners and around the shower tray. Each one reacts differently to heat, moisture, and cleaning products. If you treat them all the same, you can make the job harder instead of easier.
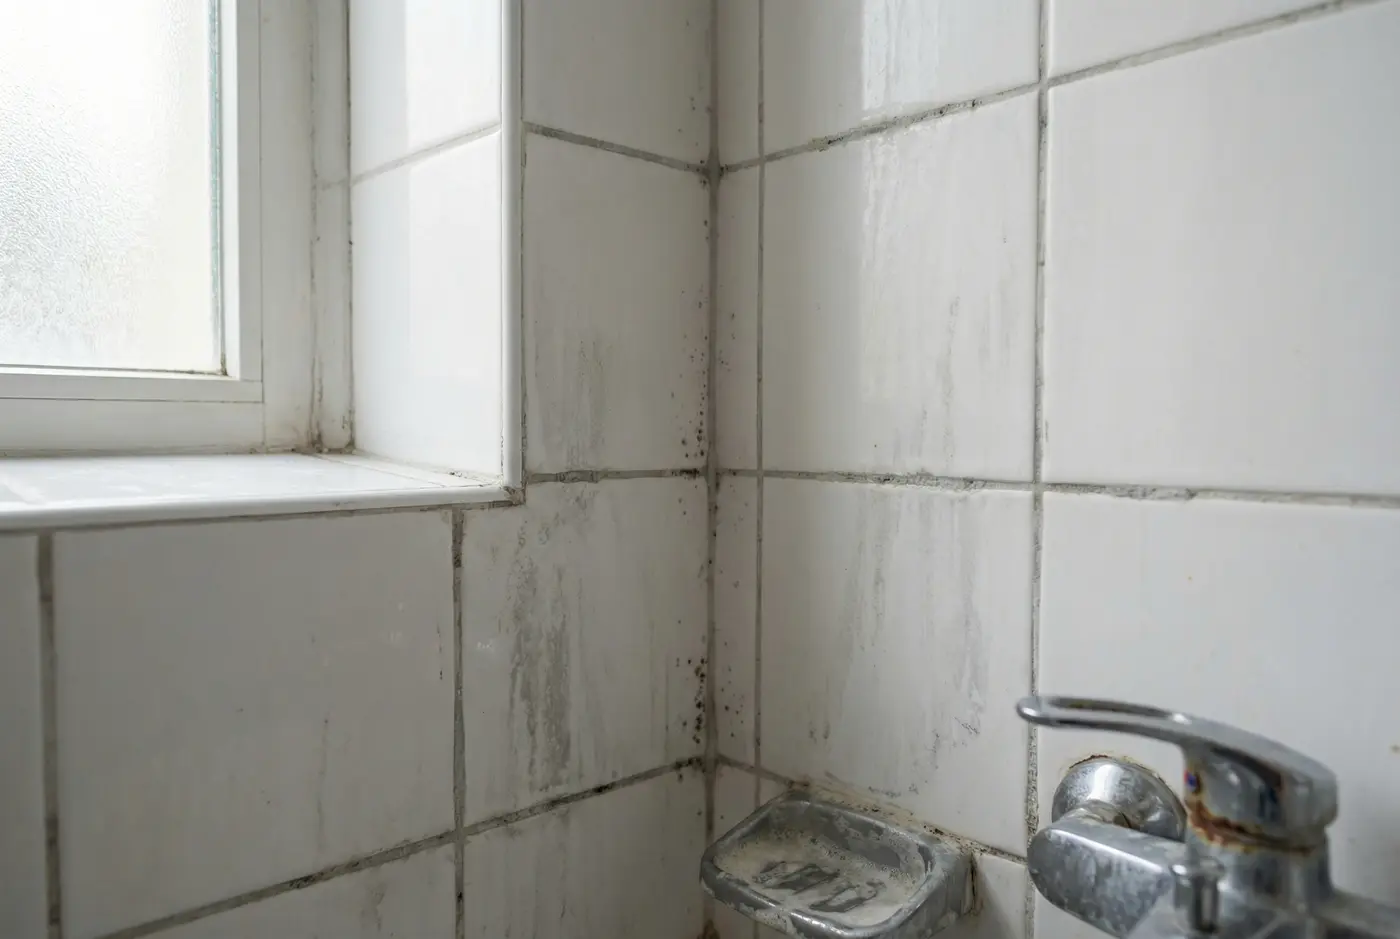
- Grey grout is usually soap residue mixed with minerals from hard water.
- Black dots in corners often mean early mold or a moisture problem.
- White crust around edges is usually limescale and needs softening first.
- Crumbling grout is damage, not just dirt.
What to prepare before you start
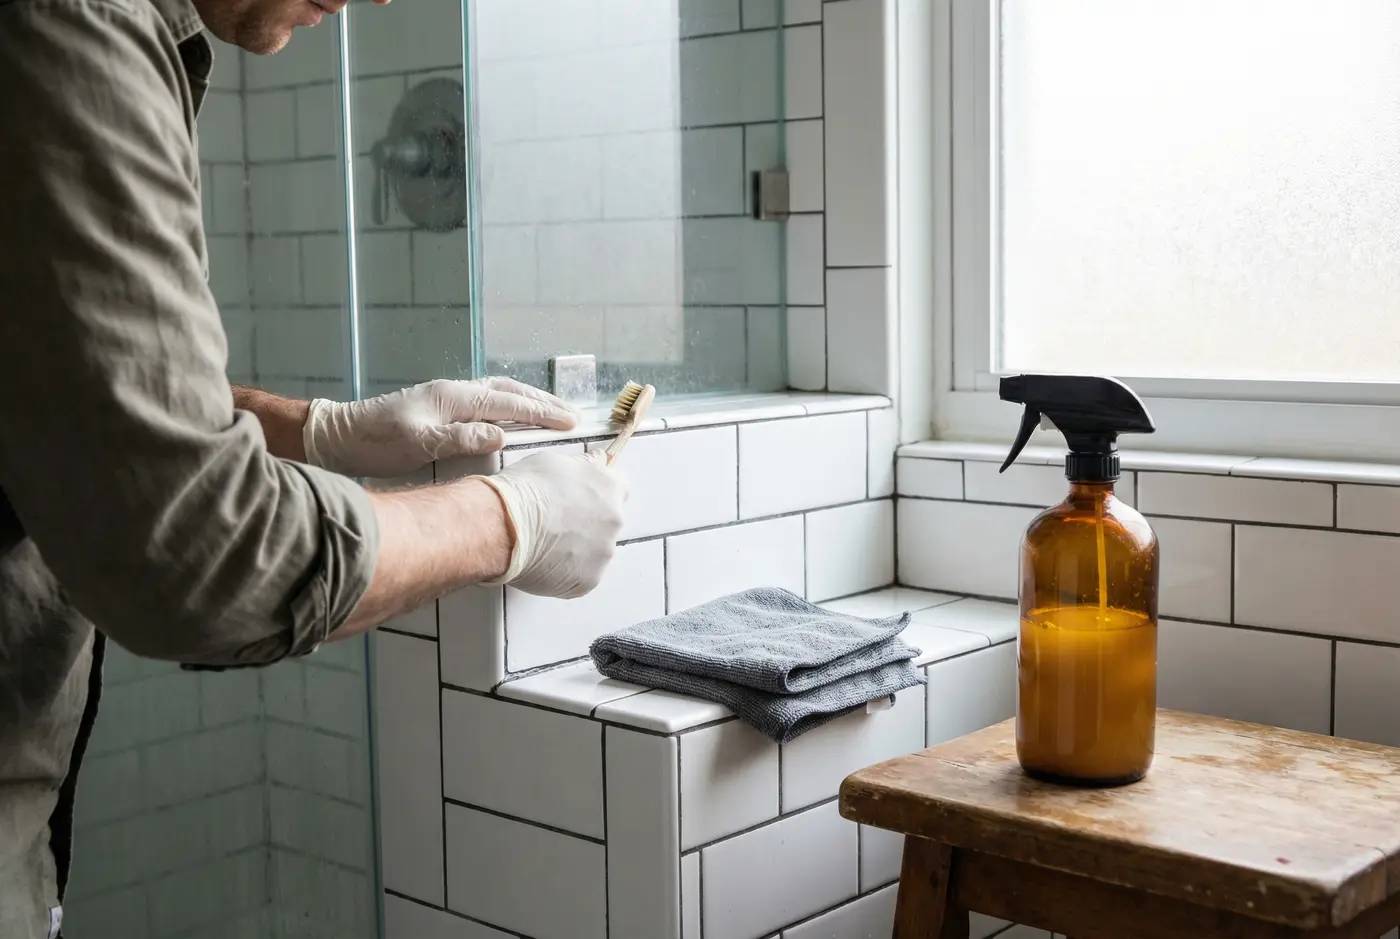
For normal maintenance you usually need warm water, a mild bathroom cleaner or a limescale product, a soft brush, a microfiber cloth, and gloves. If the buildup is heavier, a baking-soda paste can help with gentle abrasion. For mold, be careful: do not mix chlorine and acidic cleaners, and do not spray everything at once hoping something will work.
- Soft brush or old toothbrush
- Microfiber cloth or absorbent towel
- Gloves and ventilation
- One product matched to one problem
Step-by-step cleaning process
1. Rinse and soften the area
Rinse the shower with warm water first. It removes loose dirt and helps soften the buildup so the cleaner can work more evenly.
2. Apply the product only where needed
Use a bathroom cleaner for light grey film. Use a limescale remover only where mineral deposits are the main issue. For greasy residue, a degreasing bathroom cleaner may help. In every case, let the product sit briefly, not indefinitely.
3. Brush gently and methodically
Follow the grout line with a soft brush. Do not attack it with hard pressure. Short, repeated rounds usually work better than one aggressive pass.
4. Rinse thoroughly
Rinse away every trace of cleaner. Leftover product can create haze on fittings or irritate skin the next time the shower is used.
5. Dry the shower completely
This is the step people skip, and it matters. If the enclosure stays wet, grime returns faster. A dry surface and good airflow make a big difference.
What works for different problems
Soap film
This is usually the easiest problem. A standard bathroom cleaner, gentle brushing, and a good rinse are often enough, especially if the shower is maintained regularly.
Limescale
For mineral buildup, use a dedicated limescale remover. Let it work for a short, controlled time. On heavier deposits, it may help to soften the area first and repeat the process once more instead of forcing it in one pass.
Mold
If mold is the issue, cleaning alone may not be enough. You also need better ventilation, faster drying, and in some cases fresh silicone. If mold keeps coming back quickly, it may be a deeper moisture problem rather than a simple cleaning task.
Materials and surfaces to watch
Bathrooms combine grout, glass, chrome, black profiles, and silicone. Not every material tolerates the same pressure or cleaner. Abrasive pads can scratch dark frames. Strong chlorine can dull finishes. Acidic cleaners can be too harsh if they dry on sensitive surfaces.
- Do not let cleaners dry on chrome or black profiles.
- Skip steel wool and rough scrub pads on grout and silicone.
- Test new products on a small hidden area first.
- When in doubt, start mild and increase only if needed.
Common mistakes
- Mixing cleaning chemicals.
- Leaving strong products on longer than the label says.
- Using hard brushes or abrasive sponges.
- Skipping the rinse and dry step.
- Trying to solve an old problem in one frantic round.
When DIY is not enough
Home cleaning usually works for light greying, soap residue, and early buildup. If the grout is crumbling, silicone is blackened, mold returns within days, or the shower has been neglected for a long time, professional help is the smarter move. At that point you are no longer doing maintenance. You are restoring a bathroom that needs a reset.
For busy households, rentals, and homes with heavy shower use, it can be smarter to move from occasional rescue cleaning to regular upkeep. That is where CistýKout makes sense: practical help from people who know how to bring a shower back into a stable, usable state.

How to keep grout cleaner for longer
- Pull water off the glass after each shower.
- Air out the bathroom immediately after use.
- Do a quick gentle clean once a week.
- Do not let soap and shampoo residue build up in the same spot.
- Check silicone as well as grout in older bathrooms.
Conclusion
If you understand how to clean shower grout the right way, you do not need harsh chemistry or endless scrubbing. The key is to identify the problem, use the right cleaner, brush gently, rinse well, and keep the shower dry. Light buildup is usually manageable at home. Mold, crumbling grout, or recurring damage is a sign to bring in professional help. That is exactly where CistýKout can save you time, effort, and a second round of trial and error.