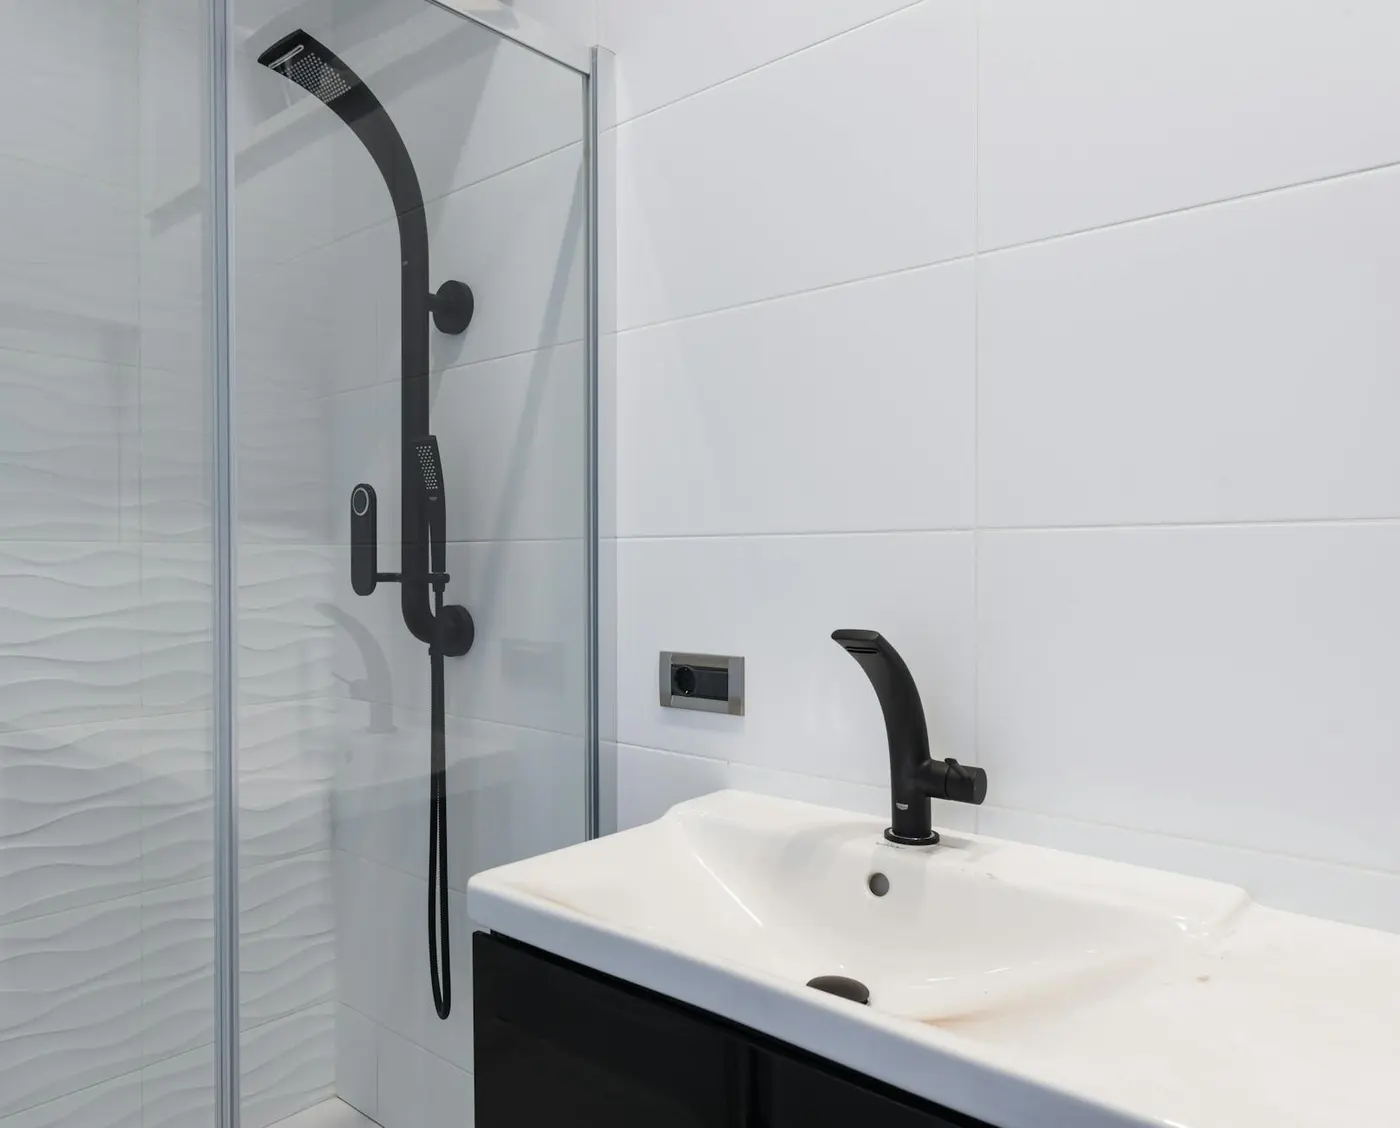
If you are trying to figure out how to clean shower grout without damaging silicone or chrome, the first thing to know is this: the grout is rarely the only problem. In the same shower corner you usually have soap film, limescale, damp joints, glass haze, metal trim, and maybe a black fixture finish that marks more easily than people expect. That is why one aggressive bathroom cleaner can brighten the grout a bit and still leave the whole enclosure looking worse.
For Prague households, and honestly for most flats with hard water, dirty shower grout is usually bundled with other issues. Mineral residue settles into the joint. Shampoo and body wash leave a greasy layer on top. Corners stay damp. Sometimes those black marks near the seal are not ordinary dirt at all. If you want a result that lasts, you need to separate grout cleaning from descaling, and both of those from the way you handle silicone, glass, chrome, and black fittings.
Why shower grout gets dirty faster than the rest of the bathroom
Grout is porous. That changes the job completely.
Glass and chrome mostly hold residue on the surface. Grout hangs on to moisture, diluted cosmetics, soap film, and mineral deposits. In a compact shower enclosure, especially one that stays closed after use, buildup collects fast. It often starts quietly. A grey line. A yellow cast. A corner that never looks fully clean even after you wipe everything else.
It helps to separate four different situations:
- ordinary dirty grout, usually greyed or yellowed by soap and minerals
- limescale, which often appears as pale chalky residue around grout lines and fittings
- mould, usually darker spotting near corners and silicone edges
- failing grout or failing silicone, where the material itself is cracked, brittle, loose, or permanently stained through
That distinction matters. Bathroom grout cleaning works well when the grout is dirty. It does not repair old sealant. It does not rebuild cracked joints. And it definitely does not undo damage from a strong product that sat too long on the wrong surface.
In older Czech bathrooms, especially prefab-panel flats where the lower joints stay damp for longer, the bottom tile line often tells the truth first. You clean the visible grime, but the detail is still holding moisture. That is usually the point where maintenance and material wear stop being the same problem.
I saw this in a rental flat near Smíchov recently. The tenant had already tried vinegar, baking soda, a steam cleaner, and one supermarket descaler with very confident packaging. The shower glass improved. The grout barely moved. The dark line near the tray was partly embedded residue, partly mould, and partly old silicone that had simply reached the end of its life. Once you see that clearly, more scrubbing stops looking like determination and starts looking expensive.
What to prepare before you start cleaning
If your real question is how to remove limescale from shower grout safely, you do not need a dramatic row of products. You need control.
I would prepare:
- a spray bottle with warm water
- a mild dish soap solution for the first degreasing wipe
- a citric-acid based cleaner, or a weak vinegar mix only if you can keep it away from delicate metal finishes
- a baking soda paste made with a small amount of water for targeted grout work
- a soft toothbrush or a gentle small grout brush
- a microfiber cloth
- a soft sponge with no abrasive scrub layer
- a squeegee for the glass
- dry paper towels or a cotton cloth for the final drying step
- gloves
What I would avoid:
- wire wool
- harsh scouring powders
- neat vinegar poured directly onto silicone or chrome
- bleaching the entire shower when only one damp corner needs attention
- aggressive melamine sponges on black fixtures, matte trim, or coated surfaces
This is where shower limescale removal often goes sideways. People focus on the stain and forget the material. Chrome can lose its finish. Black taps can dull. Silicone can dry out and peel sooner. The cleaner may work exactly as designed. The surface may still hate it.
If your shower has an affordable matte black fixture rather than a higher-end coated finish, I would be extra cautious. Those cheaper surfaces can look fine for months and then mark surprisingly fast once acidic products or aggressive rubbing enter the routine.
Before you touch anything acidic, remove the greasy film first. That step saves time. Rinse the enclosure, wipe it with a tiny amount of dish soap diluted in warm water, then rinse again. If you skip that, your descaler first has to push through soap and body product residue before it ever reaches the mineral layer or the grout itself.
Step by step: how to clean dirty shower grout without over-scrubbing
This is the method I trust when the grout is tired, grey, slightly yellow, or carrying surface residue, but the surrounding materials still deserve a careful hand.
1. Wet the grout and soften the buildup
Rinse the shower with warm water. Not boiling, just warm enough to loosen dried soap film. Then spray the grout lines and let the moisture sit for five to ten minutes.
If you can already see pale limescale around the grout, press a cloth lightly dampened with your citric solution onto the specific mineral spots. Keep it local. Do not drape it over silicone joints or let it run down onto the fittings.
2. Clean locally instead of spraying the whole enclosure
Apply a small amount of baking soda paste or a mild grout cleaner directly onto the grout lines. The paste should stay where you put it. If it slides down the tile, it is too thin.
Then brush with short strokes along the joint. No need to attack it. Most dirty shower grout responds better to repeated gentle passes than to one heavy scrub. If nothing changes after a minute, add more moisture, wait again, and repeat. Force is overrated here.
3. Rinse and check the result while it is still honest
Rinse a small section and wipe it dry before moving on. Wet grout almost always looks cleaner than it really is.
If the line is lighter but still slightly shadowed, do a second round. If the dark marks sit mainly near the silicone edge or in the same damp corner and barely react, you may be dealing with mould rather than simple residue. In that case it helps to read more specifically about bathroom mould before you keep scrubbing the same area.
4. Dry the shower properly at the end
Dry the grout, dry the corners, dry the silicone edge, dry the trim. This part gets skipped all the time. Then the cleaned area stays damp, and the same problem comes back almost immediately.
How to deal with limescale, silicone, and corners without damage
Limescale and dark grout are not the same thing, so they should not be treated the same way.
Limescale is mineral residue. It tends to look pale, chalky, and stubborn. Dirty grout looks dull or dark. Mould is different again. If you throw one aggressive cleaner at all three, you usually get mediocre results and unnecessary risk.
For limescale, I prefer short contact time and tight control. Small cloth. Local application. Quick rinse. It is slower than soaking the whole enclosure, but much safer around chrome, black fittings, and trim. If the main issue is really the white residue on the glass, profiles, and hardware rather than the grout itself, this related guide on removing limescale from a shower enclosure without damaging glass or seals is the more useful next step.
Silicone needs its own judgment call. If it is:
- cracked
- soft, brittle, or peeling
- detached from the tray or wall
- black all the way through even after careful cleaning
then cleaning is no longer the full answer. At that point replacement is usually the honest recommendation. Old sealant does not scrub its way back to new.
Corners and trim edges need smaller tools. A folded cloth, a cotton swab, or a detail brush is often better than a large sponge that never quite gets into the joint. In older rental bathrooms, especially where cleaning between tenants was rushed, the worst buildup is often very local and very stubborn.
If you have chrome, always rinse away any acidic residue and dry it straight after. If you have black fixtures, keep mild soap and microfiber as your default and use stronger descaling only as a tightly controlled spot treatment.
How to keep the shower clean for longer than a few days
The most effective habit is also the least exciting one. Spend one extra minute after the shower.
A simple routine helps a lot:
- pull the water off the glass and nearby tile with a squeegee
- leave the enclosure open for airflow
- wipe the wettest corners and the silicone edge
Then once a week, do a short maintenance wipe with a mild cleaner, rinse, and dry the area again. That is enough for many households. People often wait until the shower looks dull from the doorway, and by then the job is bigger than it ever needed to be.
One small practical trick helps more than people expect: keep the microfiber cloth in the bathroom, not in a utility cupboard somewhere else. If the cloth is within reach, you actually wipe the wet edge after showering. If it is not, the job gets postponed, and the corners sit wet until morning.
Hard water makes the cycle faster. In Prague, that is a familiar pattern. Mineral residue comes back quickly on glass, chrome, and the edges around grout lines. Prevention matters not because it sounds disciplined, but because it saves time and keeps you from repeatedly hitting delicate surfaces with stronger products.
When a professional clean makes sense
There is a limit to what a careful DIY clean can do. It is better to recognise that limit before you damage the silicone or the fixture finish trying to force a result.
A professional clean makes sense when:
- the grout stays dark after two careful rounds of cleaning
- mould keeps returning around corners or silicone in a short time
- the silicone is brittle, peeling, detached, or deeply stained
- limescale is heavy across the glass, profiles, and fittings and your home attempts only added streaks
- the shower was neglected for a long time or left in rough condition by previous tenants
When asking for help, describe the shower clearly. Something like: "dark lower corners, heavy limescale on glass, black fixture finish, grey silicone around the tray" is much more useful than "dirty shower". It helps the cleaner judge whether the job is mainly deep cleaning, descaling, or already close to repair territory.
If you are done experimenting on your own surfaces, ČistýKout is a Prague-based cleaning option and you can send a soft, no-pressure enquiry through the contact page. In a sensitive shower enclosure, a controlled method is usually smarter than another weekend spent scrubbing with a universal spray that promises miracles.
The short version? How to clean shower grout safely is not a one-product problem. It is about sequence, soft tools, local work, and knowing when the issue is dirt versus aging material. Once you make that distinction, the whole shower gets easier to manage and much harder to accidentally damage.