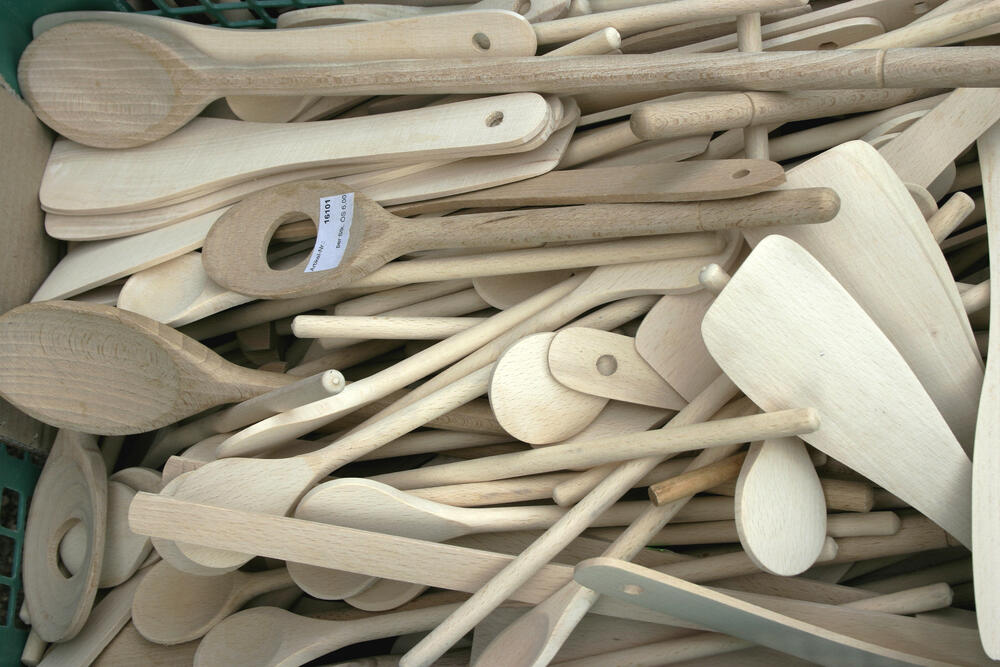
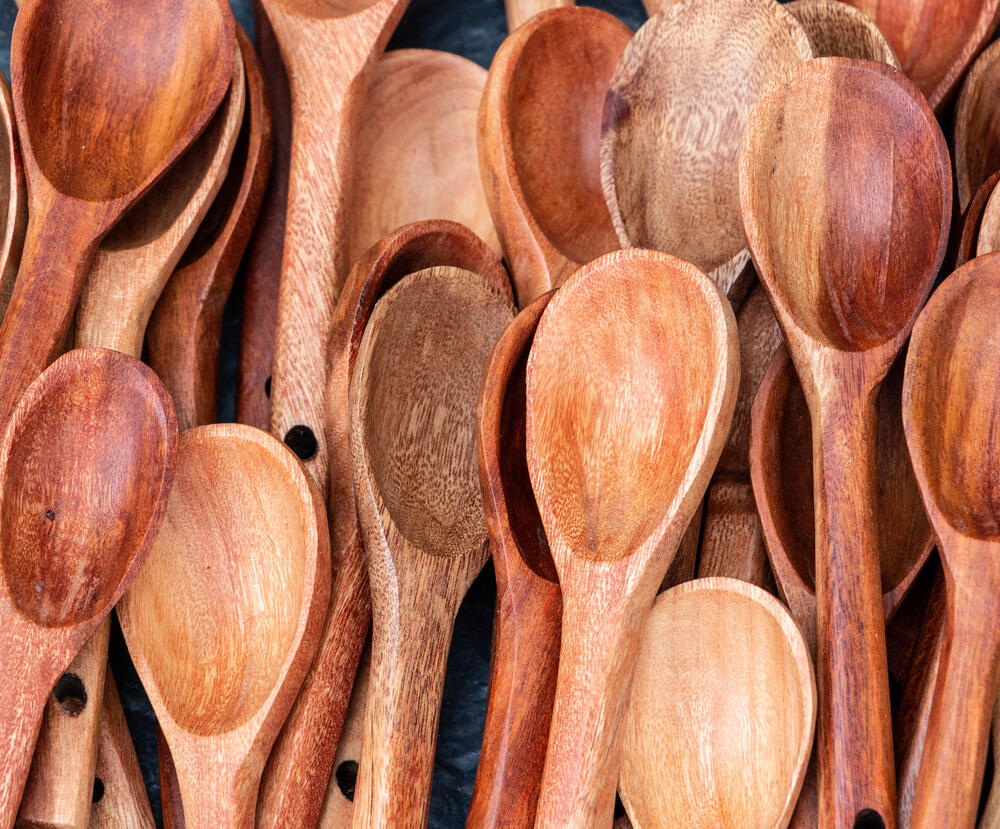
A wooden cooking spoon looks harmless. In reality, it is one of the kitchen tools most likely to soak up grease, sauce, moisture, and smell if you treat it lazily. People expect that from a cutting board. They forget it with spoons, spatulas, rolling pins, and salad bowls. Then six months later they wonder why the wood feels fuzzy, smells faintly of garlic, and looks tired even though it gets "washed" every day.
Wood is not the problem. Bad habits are. Dishwasher cycles, overnight soaking, heavy disinfectants, cooking oils that turn rancid inside the grain, or no maintenance at all. When wooden kitchen tools are washed, dried, and conditioned properly, they can last for years and still stay pleasant to use.
This guide is centered on wooden spoons, because that is the tool most households abuse the most. But the same logic applies to wooden spatulas, turners, cutting boards, rolling pins, salad bowls, serving bowls, and wooden handles on kitchen gear. The details matter. If you skip them, the wood tells on you fast.
Why wood needs a different cleaning routine
Wood is porous. That does not make it automatically unsafe. It means the material reacts to water, heat, salt, acids, grease, and drying conditions. Leave a spoon sitting in a pot of tomato sauce, and it absorbs liquid and smell. Leave it wet on one side, and it dries unevenly. Run it through the dishwasher a few times, and the surface gets rough, pale, and brittle.
For wooden kitchen tools, five things matter more than people think:
- how quickly you wash them after use,
- how much water they sit in,
- whether they dry evenly,
- whether the wood is dried out and needs oil,
- and whether the item is still worth saving at all.
That last point is not glamorous, but it matters. A spoon with a deep split near the bowl, a cutting board with black growth in the knife marks, or a salad bowl that still smells sour after cleaning is not a restoration project. It is a replacement.
How to clean wooden spoons after everyday cooking
Wooden spoons deal with hot fat, starch, sauces, and constant handling. That makes them ideal cooking tools and annoying cleaning subjects at the same time.
The basic wash routine
Wash the spoon soon after cooking, with warm water, a small amount of dish soap, and a soft sponge or dish brush. Do not wait until the next morning if the spoon has been in béchamel, curry, jam, or a pan sauce. Once food dries deep into the grain, cleaning gets harder and odor removal gets worse.
After washing, dry it with a kitchen towel right away. Then let it finish drying in open air. That second step matters. A spoon left flat on a damp counter or tossed into a closed drawer while still slightly wet can develop odor surprisingly fast.
What to avoid
- Do not soak it in a sink full of water.
- Do not put it in the dishwasher.
- Do not scrub it with steel wool.
- Do not leave it resting in a hot pot for long periods.
- Do not use strong perfumed cleaners and expect the smell to disappear.
A dishwasher is rough on wood in two ways at once: long moisture exposure and intense heat. The result is usually warped grain, a dry surface, and tiny cracks that make future cleaning harder.
How to remove odor from wooden spoons and spatulas
Garlic, onion, fish, curry paste, smoked fat, and vinegar based sauces cling to wood. If the item is still structurally sound, you can usually pull the smell back down with a gentle deep clean.
Coarse salt and lemon
Wet the spoon lightly, sprinkle coarse salt over the working end, and rub with half a lemon. The salt gives light abrasion and the lemon helps cut odor. Keep it brief. A few minutes is enough. Rinse and dry thoroughly.
This works well for spoons and boards that smell tired rather than truly rotten. On very dry wood, though, repeated acid treatment can leave the surface more open and thirsty.
Baking soda paste
For greasy odor, I like baking soda better. Mix a small paste with water, rub it in gently, leave it for ten minutes, then rinse. It is mild, cheap, and less aggressive than people expect.
Vinegar, used carefully
A diluted white vinegar wipe can help with odor on cutting boards and wooden salad bowls. I would not use it as an all purpose routine every few days. Too much vinegar can dry the wood and leave its own lingering smell behind.
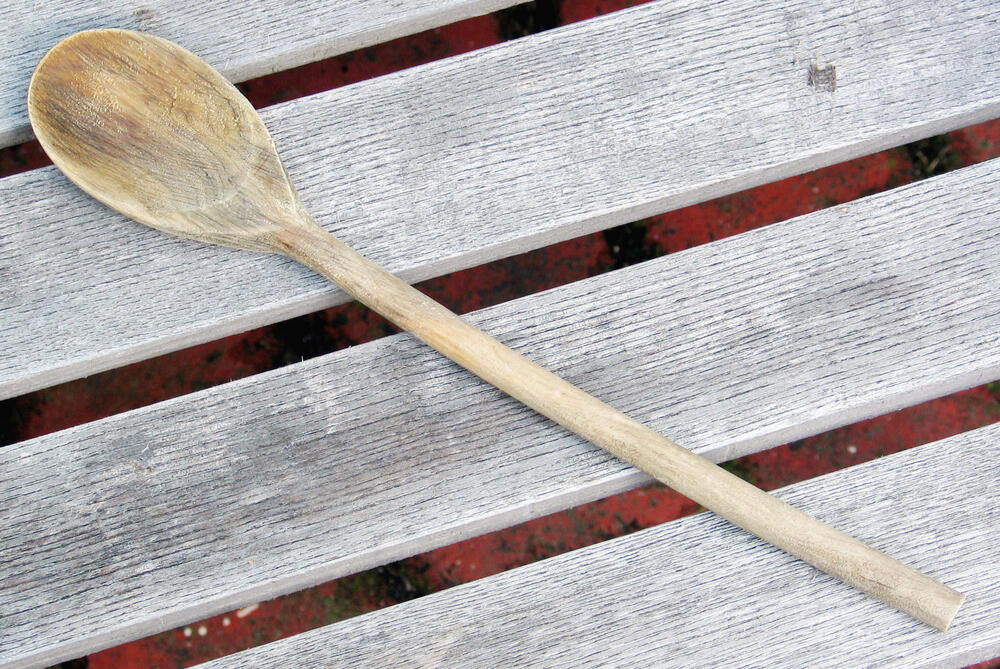
Stains, gray patches, and fuzzy grain
A dark area on a wooden spoon is not always mold. Sometimes it is just a mix of pigment, moisture, and old oil. Still, you need to look honestly at the surface.
Light sanding for restoration
If the wood feels rough, fuzzy, or slightly gray, use very fine sandpaper, usually around 220 to 320 grit, and sand with the grain. Keep it light. You are not reshaping the tool. You are smoothing the surface and removing damaged fibers.
Once sanded, wipe away dust with a barely damp cloth, let the wood dry completely, then oil it. This works well on spoons, spatulas, rolling pins, and boards. It is especially helpful on cutting boards where knife wear creates rough channels.
When to throw the item away
Replace the piece if:
- it has deep cracks,
- splinters are lifting,
- dark spots are soft or spreading,
- odor survives proper cleaning,
- or the surface is badly worn with grooves that no longer clean properly.
People hang on to old wooden tools for sentimental reasons. I get it. But if the spoon is shedding fibers into stew, sentiment has lost the argument.
Disinfection: where the limit is
This is where many people overcorrect. They want wood to behave like stainless steel or glass, so they attack it with heavy sanitizing methods. That usually backfires.
What makes sense
- Use separate cutting boards for raw meat and ready to eat foods.
- Wash wooden tools promptly with hot water and soap.
- On cutting boards, occasional hydrogen peroxide can be useful for extra sanitation.
- Dry everything thoroughly before storage.
What I would not make a habit of
Bleach appears in some food safety guidance for sanitizing cutting boards. In a normal home kitchen, I would still be cautious with bleach on wood. It can discolor the board, dry it out, and leave chemical smell behind if the rinse is sloppy. It is far better to prevent cross contamination in the first place than to chemically punish wood after every meal.
Boiling wooden spoons
Boiling spoons in water looks dramatic online because the water turns cloudy and brown. Yes, it can pull out old grease. It can also stress the wood badly. As a one off rescue for a badly neglected spoon, maybe. As routine maintenance, no. If you ever do it, the spoon needs long drying time afterward and usually a conditioning oil pass.
Drying is the step most people underestimate
The cleaning product matters less than the drying routine. Residual moisture is what drives warping, stale odor, and surface damage.
How to dry wooden tools properly
Towel dry them first. Then let them air dry with circulation on all sides. Stand cutting boards on edge. Let spoons dry upright or at an angle. Do not leave bowls or rolling pins sitting with one wet side pressed onto a counter.
Common drying mistakes
- drying on a radiator,
- drying in direct sun,
- stacking damp boards together,
- storing slightly wet tools in a drawer,
- laying a washed board flat on one side for hours.
Uneven drying is a quiet problem. The wood may not fail dramatically at first. It just slowly twists, opens, dulls, and starts holding odor more easily.
Oiling: when the wood needs it, and what to use
If wood looks chalky, feels dry, or sucks up a drop of water immediately, it probably needs conditioning. Cutting boards need this most often, but spoons, spatulas, rolling pins, and salad bowls benefit too.
The safest oils for kitchen wood
Food grade mineral oil is the standard choice because it is stable, odorless, and does not go rancid. A mineral oil and beeswax conditioner, sometimes sold as board butter or spoon butter, is also a strong option.
Regular cooking oils are a weaker long term choice. Olive oil, sunflower oil, and canola oil can smell stale over time. That smell can stay trapped in the grain and transfer back into food or simply make the tool feel old.
How to oil wooden kitchen tools
- Make sure the wood is clean and fully dry.
- Rub on a thin, even layer of oil with a cloth.
- Cover all surfaces, including edges and handles.
- Let it soak in for several hours or overnight.
- Wipe away any excess.
- Repeat if the wood absorbs everything immediately.
New boards and bowls often need more frequent oiling early on. That is normal. They are still settling into regular use.
Cleaning other wooden kitchen equipment
Wooden cutting boards
Wash both sides after every use, even if you only cut bread on one side. One wet face and one dry face is how boards warp. Use a separate board for raw meat. If knife scars become deep and stubborn, sand lightly or replace the board.
Wooden spatulas and turners
These are thinner than spoons, so they dry faster but also crack faster when abused. Watch the transition point between the handle and the flat head. That is where splits often begin.
Rolling pins and pastry boards
Use very little water. Let sticky dough dry slightly, brush or scrape it off, then wipe with a barely damp cloth. Soaking a rolling pin is one of the easiest ways to roughen the grain and shorten its life.
Salad bowls and serving bowls
These suffer from long contact with acidic dressings. Do not leave vinaigrette in them for hours. Wash gently, towel dry, then let the bowl dry with airflow. Conditioning oil matters here both for appearance and surface protection.
Wooden knife handles and tool handles
Do not leave them under running hot water longer than needed. A quick wipe and occasional oiling is enough. Repeated drenching can shrink and loosen the handle over time.
The mistakes that ruin wooden kitchen tools fastest
The biggest one is simple: treating wood like plastic.
The second is leaving wooden utensils in food or water for too long. A spoon abandoned in a pot overnight starts losing the fight immediately.
Third, people oil wood with whatever is already in the pantry. Natural is not the same as stable.
Fourth, they keep damaged items long after the item should be replaced.
And the fifth mistake, honestly the most common, is lazy drying. Not dirty washing. Drying.
A maintenance routine that actually works
If you want a routine that is realistic, not precious, keep it simple:
- wash soon after use,
- use mild soap and warm water,
- dry immediately with a towel,
- let the piece finish drying with airflow,
- deodorize occasionally with baking soda or salt and lemon,
- sand lightly when the surface gets rough,
- oil when the wood looks dry,
- replace anything cracked, splintered, moldy, or permanently smelly.
That is enough. You do not need ritual. You need consistency.
Well kept wooden kitchen tools feel better in the hand, look better, and usually last much longer than people expect. But they only stay that way if you stop asking them to survive every lazy kitchen habit you have.