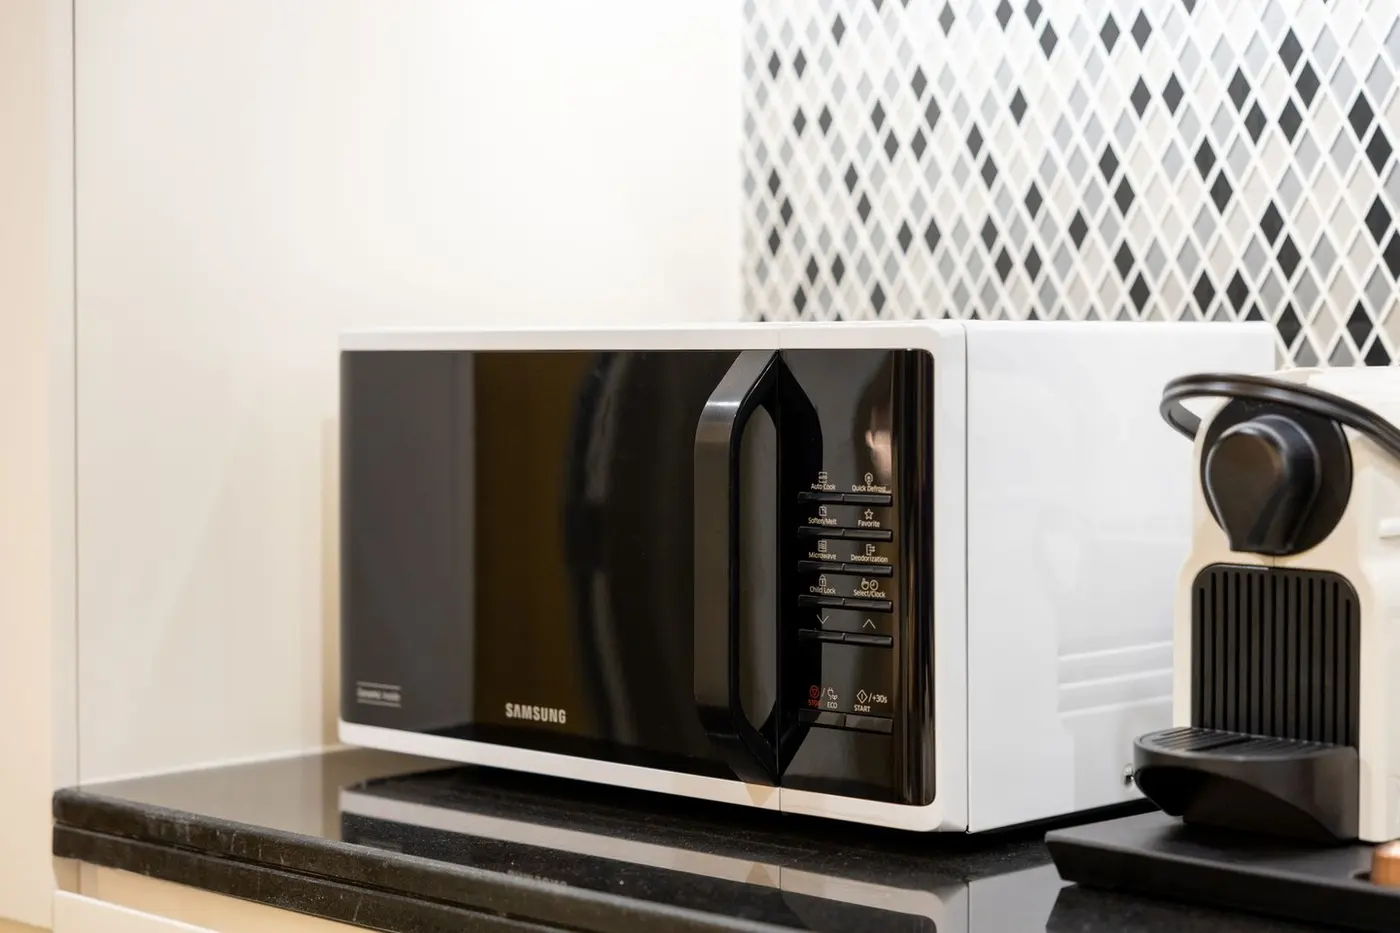
One uncovered bowl of curry can turn a white microwave into a yellow-speckled mess in seconds. The instinctive response is to grab the rough side of a sponge and scrub harder. That is also how a harmless cosmetic mark becomes permanent surface damage. When someone asks how to remove turmeric stains from microwave surfaces, I first work out whether the yellow is still sitting on top of the cavity or has already coloured the plastic or coating itself.
First work out whether you are seeing grease or stained material
Fresh curry splashes leave an oily film and turmeric pigment. Grease feels slick or slightly sticky. If gentle washing leaves the area smooth and dry but still yellow, the colour may be inside the plastic or coating rather than on it.
Try a small white-cloth test. Switch the microwave off, unplug it and let it cool. Put one drop of ordinary washing-up liquid on a damp cloth, then wipe a small part of the mark with light pressure. A greasy yellow transfer means residue is still coming away. If the cloth stays clean while the surface remains evenly yellow, repeated washing may not achieve much more.
Check the manual before trying another product. The cavity could be painted metal, enamel, stainless steel or a non-stick coating, while the trim is plastic. A method that is fine for the glass turntable may ruin the surround.
Manufacturers give fairly conservative advice for good reason. Start with mild soap, water and a soft cloth. Whirlpool's care guide warns against steel wool, abrasive cleaners and gritty cloths inside the cavity. Samsung also says not to use bleach or solvents. Your own model's manual wins over a viral cleaning hack.
For ordinary grease and odour without turmeric, use the separate guide to cleaning a microwave without harsh chemicals. Yellow pigment needs a different decision: when is the cavity clean but still coloured?
Degrease a fresh splash without abrasives
Deal with a new spill promptly, though not while the turntable is hot. Lift away food with an absorbent cloth instead of smearing it across the wall.
Use a little washing-up liquid in lukewarm water. Wring the cloth out well and work from the outer edge of the splash towards the centre. Follow with a separate cloth dampened with clean water, then dry the area. Do not spray cleaner straight into the appliance. Liquid should not run into vents, door seams or behind the waveguide cover.
Dried food can be softened with steam if the manual allows it. Whirlpool suggests heating one cup of water for two to five minutes. Handle the container carefully. Steam helps with grease; it does not pull pigment out of stained plastic.
I once saw the white door trim of a rented flat's microwave in Prague 7 after somebody had attacked a curry mark with a green scouring pad. The yellow was only a little paler. The plastic, however, had a dull half-moon that caught the light every time the door opened. It looked worse than the original stain. Pressure is not a substitute for the right method.
Lighten an older yellow mark through short tests
Older yellow stains in a microwave may not disappear in one wash. Use a short spot test, rinse and inspect the area in good light.
Pick an inconspicuous area near a rear edge. Put only a manual-approved cleaner on the cloth, not directly on the cavity. Leave it for a brief contact time, usually seconds rather than an hour, wipe lightly, rinse with clean water and dry. Check three things:
- Did the yellow become lighter?
- Did residue transfer to the cloth?
- Did the finish stay glossy, firm and smooth?
If two or three gentle cycles produce steady improvement, continue in small areas. If the result stalls, stop. Ten more rounds are unlikely to rescue the colour, but they can leave scratches, patchy gloss or a weakened coating.
Bicarbonate of soda is still mildly abrasive, and some manuals do not approve it. Acidic cleaners, alcohol, chlorine products and oven degreasers also need manufacturer approval. Never mix household cleaners, especially chlorine products with acids or ammonia.
When the manual permits a particular non-abrasive stain cleaner, follow its dilution and contact-time instructions. Rinse it away thoroughly. More product does not guarantee a better result; it mostly creates more residue in a space used to heat food.
Plastic, enamel and painted cavities need different treatment
Plastic: watch the shine and firmness
White plastic tends to hold pigment more readily than glass. Stop as soon as the area becomes dull, tacky, soft or rough. White material appearing on the cloth is another clear warning. At that point, you are no longer cleaning a stain. You are changing the surface.
Only remove a plastic component if the manual says it is removable. The small panel on a side wall can look like cardboard, but it may be the waveguide cover. Samsung's guidance says this part should stay in place and should be cleaned with light pressure and no abrasive pad.
Enamel and paint: keep steel wool out
A smooth enamel cavity feels tough, yet damage to its top layer cannot be scrubbed away. Steel wool and gritty powders leave fine tracks where grease collects, while exposed metal may corrode. Strong cleaner can also bleach a painted cavity.
For stainless steel, wipe with the grain and use only a product accepted by the manual. Stainless does not mean indestructible.
Door, seals and seams: use less liquid
The door must close cleanly. Wipe the frame and contact surfaces with a soft damp cloth, then dry them. Do not spray cleaner into a perforated screen or flood the seams. If fluid has entered between the layers of the door, do not dismantle it at home. In a rented Prague flat, contact the landlord or an appliance service instead.
A cosmetic stain is not a reason to ruin a working appliance
The hard part is knowing when to leave it alone. If the cavity is free of grease, food and odour, the finish is intact and the door closes correctly, a pale yellow shadow may be cosmetic. Yellow does not automatically mean dirty.
Peeling coating, rust, cracks, blistered paint, sparking or a burnt-plastic smell are different. Stop using the appliance and speak to the manufacturer, a qualified service technician or the landlord. The same applies if the waveguide cover was damaged or the door no longer sits properly.
Set a limit before cleaning: two or three short, gentle cycles on the test area. If the colour no longer shifts, call it done. Renters should take a clear photograph before cleaning and another afterwards. An intact, smooth surface is much easier to explain at handover than fresh scouring marks.
Next time, choose a larger microwave-safe container and use a vented cover. Leave headroom for the sauce; a bowl filled to the lip can spit even under a lid. Wipe any splash once the appliance has cooled, while most of what you are dealing with is still grease on the surface. Five minutes now beats half an hour of futile scrubbing next week.
If the microwave is only one item on a longer kitchen list, ČistýKout offers a simple way to request cleaning help in Prague and compare replies without committing to a provider.