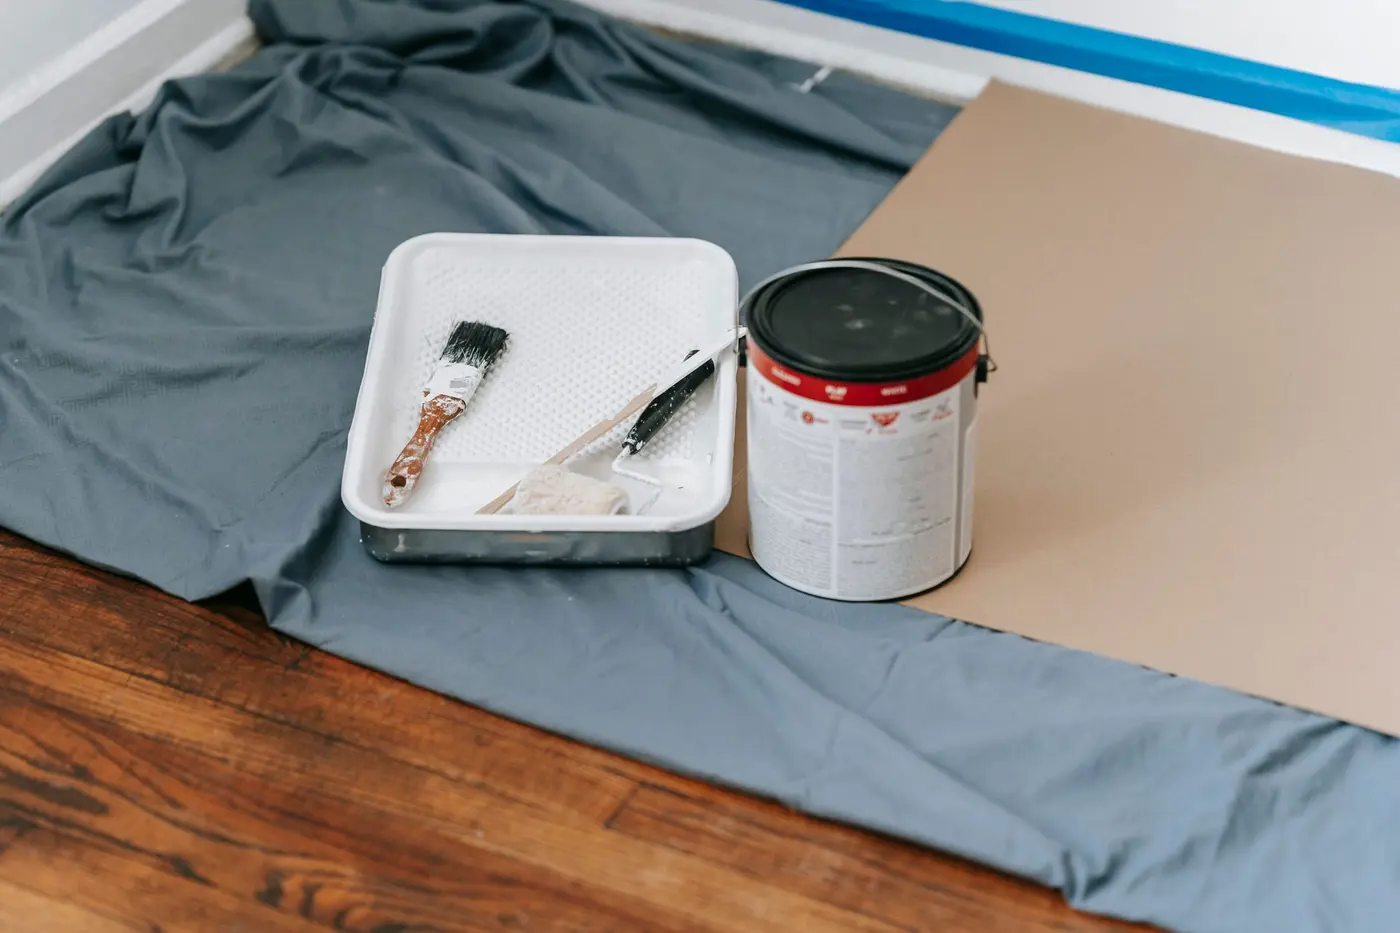
Imagine this: You’re standing in the middle of a freshly painted living room in your Prague apartment, enjoying that signature "new" scent and admiring the perfect shade of "sage green" you spent so much time choosing. But then you look down. There are fine white splatters on your laminate floor, the window frames look like they’ve been dusted with flour, and the finest dust in the world has settled deep inside your radiators.
In that moment, joy can quickly turn into mild panic. Post-painting cleaning isn't just about "a bit of mopping." It’s a strategic operation where the order of operations matters much more than the sheer force you put into scrubbing. If you start with a wet cloth on a dusty floor, you’ll create a gray sludge that you won't get out of the wood grain until next Christmas. As someone who has seen hundreds of apartments after painters have left (and, unfortunately, after some DIY rescue attempts), I’m bringing you this checklist on how to handle it calmly and with results that last.
The Golden Rule: Prevention is 80% of the Cleaning
Maybe you’ve already finished painting and you’re reading this with a tear in your eye, but if your project is still ahead of you, remember: every minute spent applying tape saves you ten minutes with a scraper in hand. Modern washable paints, which are the standard in 2026 (like those with enhanced scrub resistance), are great for daily life, but once they dry on your floor, they stick like glue.
Don't skimp on protection. Use thicker drop cloths for the floors – the thin ones tend to tear the moment you step on a ladder. Remove the tape as soon as the paint stops being tacky but before it becomes "fossilized." If you leave it for a week, you might take a chunk of the new plaster with you when you pull it off. And a pro tip: if you see a fresh drop on the floor during painting, don't wait. Keep a damp cloth with you at all times. Wiping off wet paint takes a second; scraping off dried paint is a nightmare.
Nowadays, we also commonly work with low or zero-VOC (Volatile Organic Compounds) paints. This means you don’t have to keep the windows wide open in the freezing cold for three days; a short, intense cross-breeze is enough. This also speeds up the cleaning – dust settles faster in clean, ventilated air, allowing you to start sooner.
Phase 1: Rough Cleaning and Getting Rid of Dust
The biggest mistake? Grabbing a bucket of water and starting to mop. Post-painting cleaning must start "dry." Dust from sanding drywall or fine paint particles are so light that when they contact water, they create an emulsion that you just keep smearing around.
Grab a vacuum, but be careful – not your standard household one unless you have a high-end model with a HEPA 13 filter or higher. Fine construction dust can reliably destroy a standard vacuum's motor in ten minutes. If you don't have an industrial machine, it's better to rent one for a day from a local tool rental shop in Prague.
Start from the top. Dust the top edges of doors, curtain rods, and the tops of cabinets. Then focus on the radiators. They are a black hole for dust. If you have old cast-iron ones, only a narrow brush and patience will help. For modern panel radiators, remove the top grille and vacuum the inside. Only once everything is "vacuumed clean" can you consider using water. Don't forget to change the bag and clean the filter in the vacuum after this phase – it will likely be completely clogged.
Common Myths That Only Complicate Cleaning
Over the years in the industry, I've heard many "guaranteed" tips that end up doing more harm than good. The most common one is the belief that the more detergent, the better. The opposite is true. Too much chemistry creates a sticky film on the floor that immediately catches any remaining dust. The result? Streaks that you won't get rid of even after the tenth mopping. Less is definitely more in this case.
Another myth is that steam solves everything. Steam cleaners are great for disinfecting bathrooms, but take them with a grain of salt for post-painting cleanup. Hot steam can literally "bake" paint into some surfaces (especially wooden ones). Furthermore, if you hit a freshly painted wall with steam, you risk the paint peeling or changing shade. Steam belongs on tiles, not near new walls.
Dealing with Dried Paint Drops Without Damaging Surfaces
This is where the real detective work begins. How do you remove paint from the floor without ruining expensive laminate or vinyl? Every surface requires a different approach.
- Tiles: You're in luck here. Tiles can handle a lot. Dried drops usually pop off with light pressure from a plastic scraper. If they stick, warm water with a bit of vinegar helps – vinegar slightly softens the paint.
- Laminate and Vinyl Floors: Be careful with chemicals here. Forget about solvents like S6006, as they could dissolve the floor's finish. Try "soaking" the drop with hot soapy water for a few minutes and then carefully peel it off with a fingernail or a blunt plastic tool.
- Lino/PVC: Similar to vinyl, but watch out for scratches. If the paint won't come off, there are special alcohol-based cleaners that are gentle on PVC.
My favorite natural trick for stubborn stains? A paste made of baking soda and a little water. It acts as a gentle exfoliant that mechanically breaks down the paint without scratching the surface underneath. Always test it first on a hidden piece of floor, like under the sofa.
Window Cleaning and Glass Surfaces
Cleaning windows after painting is a discipline of its own. Often, a fine "mist" of paint remains on the glass, visible only at a certain angle against the sun.
First, remove any adhesive tape residue. If the glue sticks, common cooking oil or technical alcohol works great. Then comes the frames. Wash them first so that dirty water doesn't run down onto already clean glass. I recommend a professional squeegee for the glass. Forget about polishing with newspapers – the printer's ink on modern white frames will do more harm than good.
If you find a paint drop on the glass, use a special razor scraper for glass. But it must be new and sharp! A dull blade will scratch the glass. Hold it at a 45-degree angle and always work on wet glass.
When to Hire a Professional Crew
Sometimes, it's simply better to admit that your time is worth more. The cost of post-painter cleaning in Prague and its surroundings is in the range of tens of crowns per square meter, which seems like the best investment of the year when looking at a ruined weekend.
Why go with professionals from Čistýkout?
- Industrial Equipment: Our vacuums handle the dust in one go without blowing it back into the air.
- Material Expertise: We know exactly what will come off a redirected oak floor versus marble in the bathroom.
- Guarantee of Cleanliness: No streaks on windows or dust trapped behind baseboards.
When you calculate the costs of cleaning products, machine rentals, and especially the 10–15 hours of pure time you'd spend on it, professional cleaning wins. Plus, we take care of details like sockets, switches, and window handles that people often forget in the heat of the battle.
Cleaning after painting doesn't have to be a nightmare. You just need to be systematic, don't rush with the water, and know when to pick up a scraper and when to pick up the phone and call the pros. If you do it yourself, stick to our checklist, and you'll see that you'll enjoy your new interior much sooner and without a sore back.
If you would rather hand the job to a Prague-based cleaning team, ČistýKout can take care of the post-painter chaos. Send us a no-obligation cleaning request.