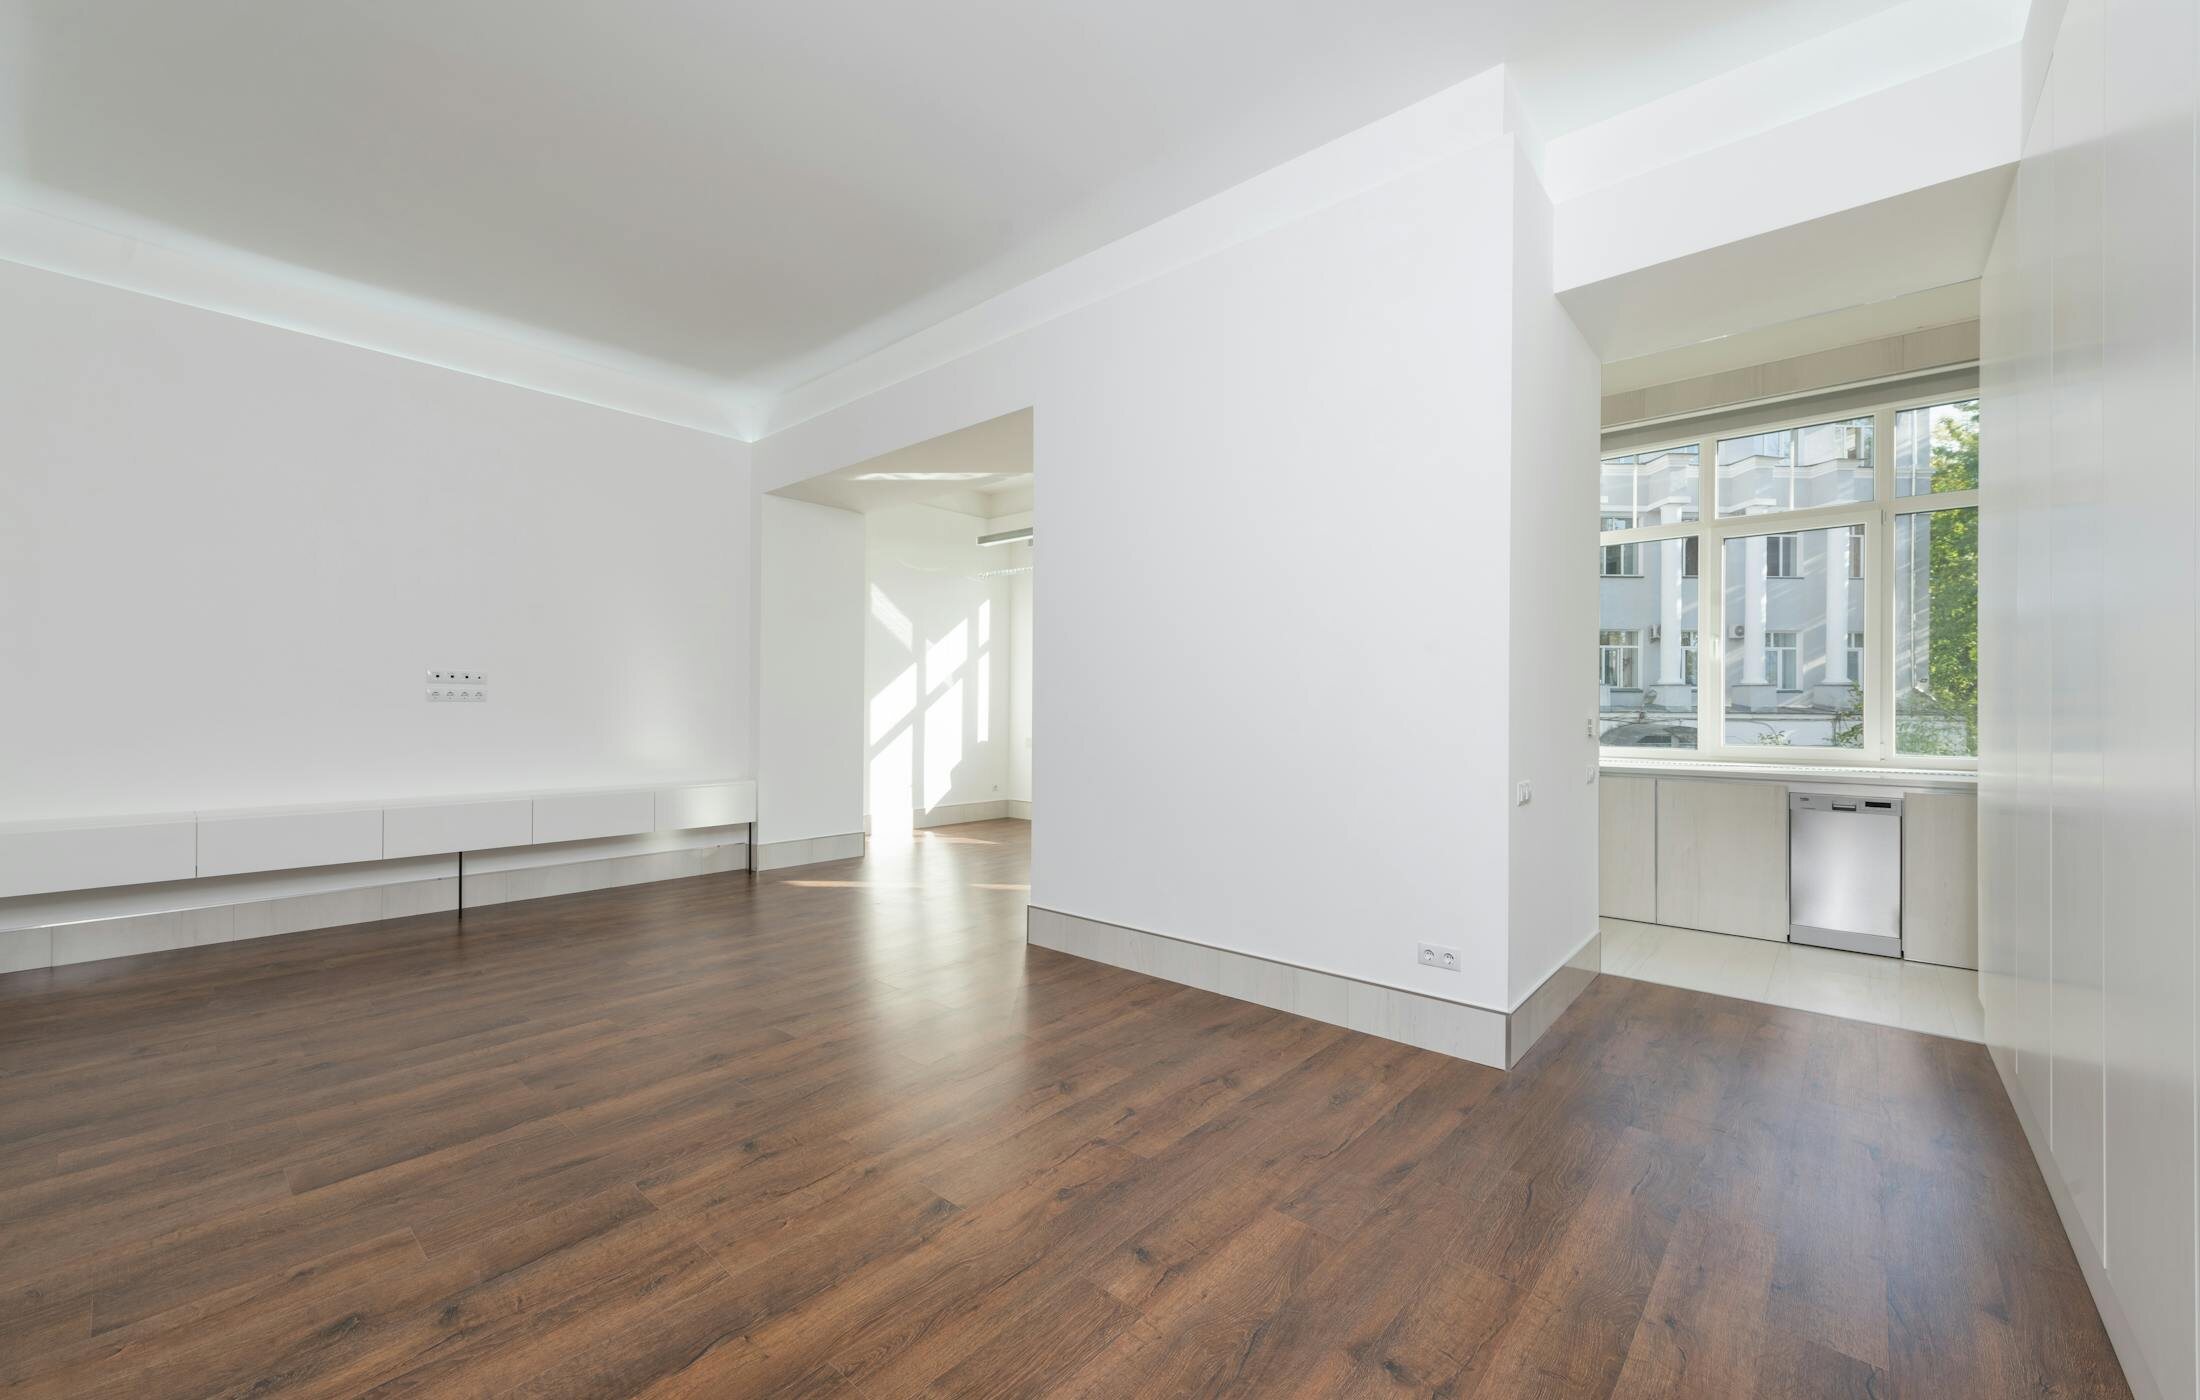
Post-renovation cleaning looks easy right up to the moment you start. You remove the rubble, wipe the floor, crack a window, and expect the flat to feel done. Then the light hits the kitchen counter and you see it again: that pale film of construction dust sitting everywhere. Fine dust after renovation behaves nothing like normal household mess. It hides in window frames, settles on top of wardrobes, clings to new floors, and if you clean in the wrong order, you just push it back into the air.
I have seen this a lot in Prague flats. Someone finishes a bathroom remodel in Vinohrady, spends half a Saturday "deep cleaning," and two days later the black shelf under the mirror is dusty again. Not because they were lazy. Because post-renovation cleaning is really a sequence problem. The tools matter too, especially if you are dealing with drywall dust, sanding residue, grout haze, and fresh surfaces you do not want to scratch on day one.
Why fine construction dust is a different problem from ordinary mess
Normal dirt stays where it falls. Construction dust travels. That is the first thing people underestimate.
When plaster gets sanded, tiles are cut, walls are drilled, or filler is smoothed out, the dust is so fine that it moves through the flat far beyond the room where the work happened. In an older Prague apartment with a long hallway, it can reach bedrooms that stayed closed most of the day. In a newer flat with smoother surfaces, it seems to land everywhere at once, especially on windowsills, cabinet fronts, and dark flooring where the haze shows up fast.
There is also the health angle. I do not like turning a practical cleaning guide into drama, but this part matters. Construction dust can irritate your throat, nose, and eyes. If anyone in the home has allergies, asthma, or small children, sloppy cleanup is not just annoying. It lingers in the air and keeps getting disturbed every time someone walks through the room or pulls curtains open.
The other problem is that fine dust is abrasive. That is the trap. People grab a damp cloth too early, press down hard, and basically rub microscopic grit across a brand-new vinyl floor, matte black tap, lacquered cabinet, or polished countertop. Sometimes the damage is subtle. Then the afternoon sun hits and the surface suddenly looks older than it should.
What to do before the actual cleaning starts
The best post-construction cleaning jobs start before anyone wipes a single surface. First, remove the obvious waste. Cardboard, tape, leftover packaging, plastic covers, chunks of plaster, empty bags, paint trays, broken tile pieces, all of it. If large debris stays in the flat while you clean, every movement stirs up more dust.
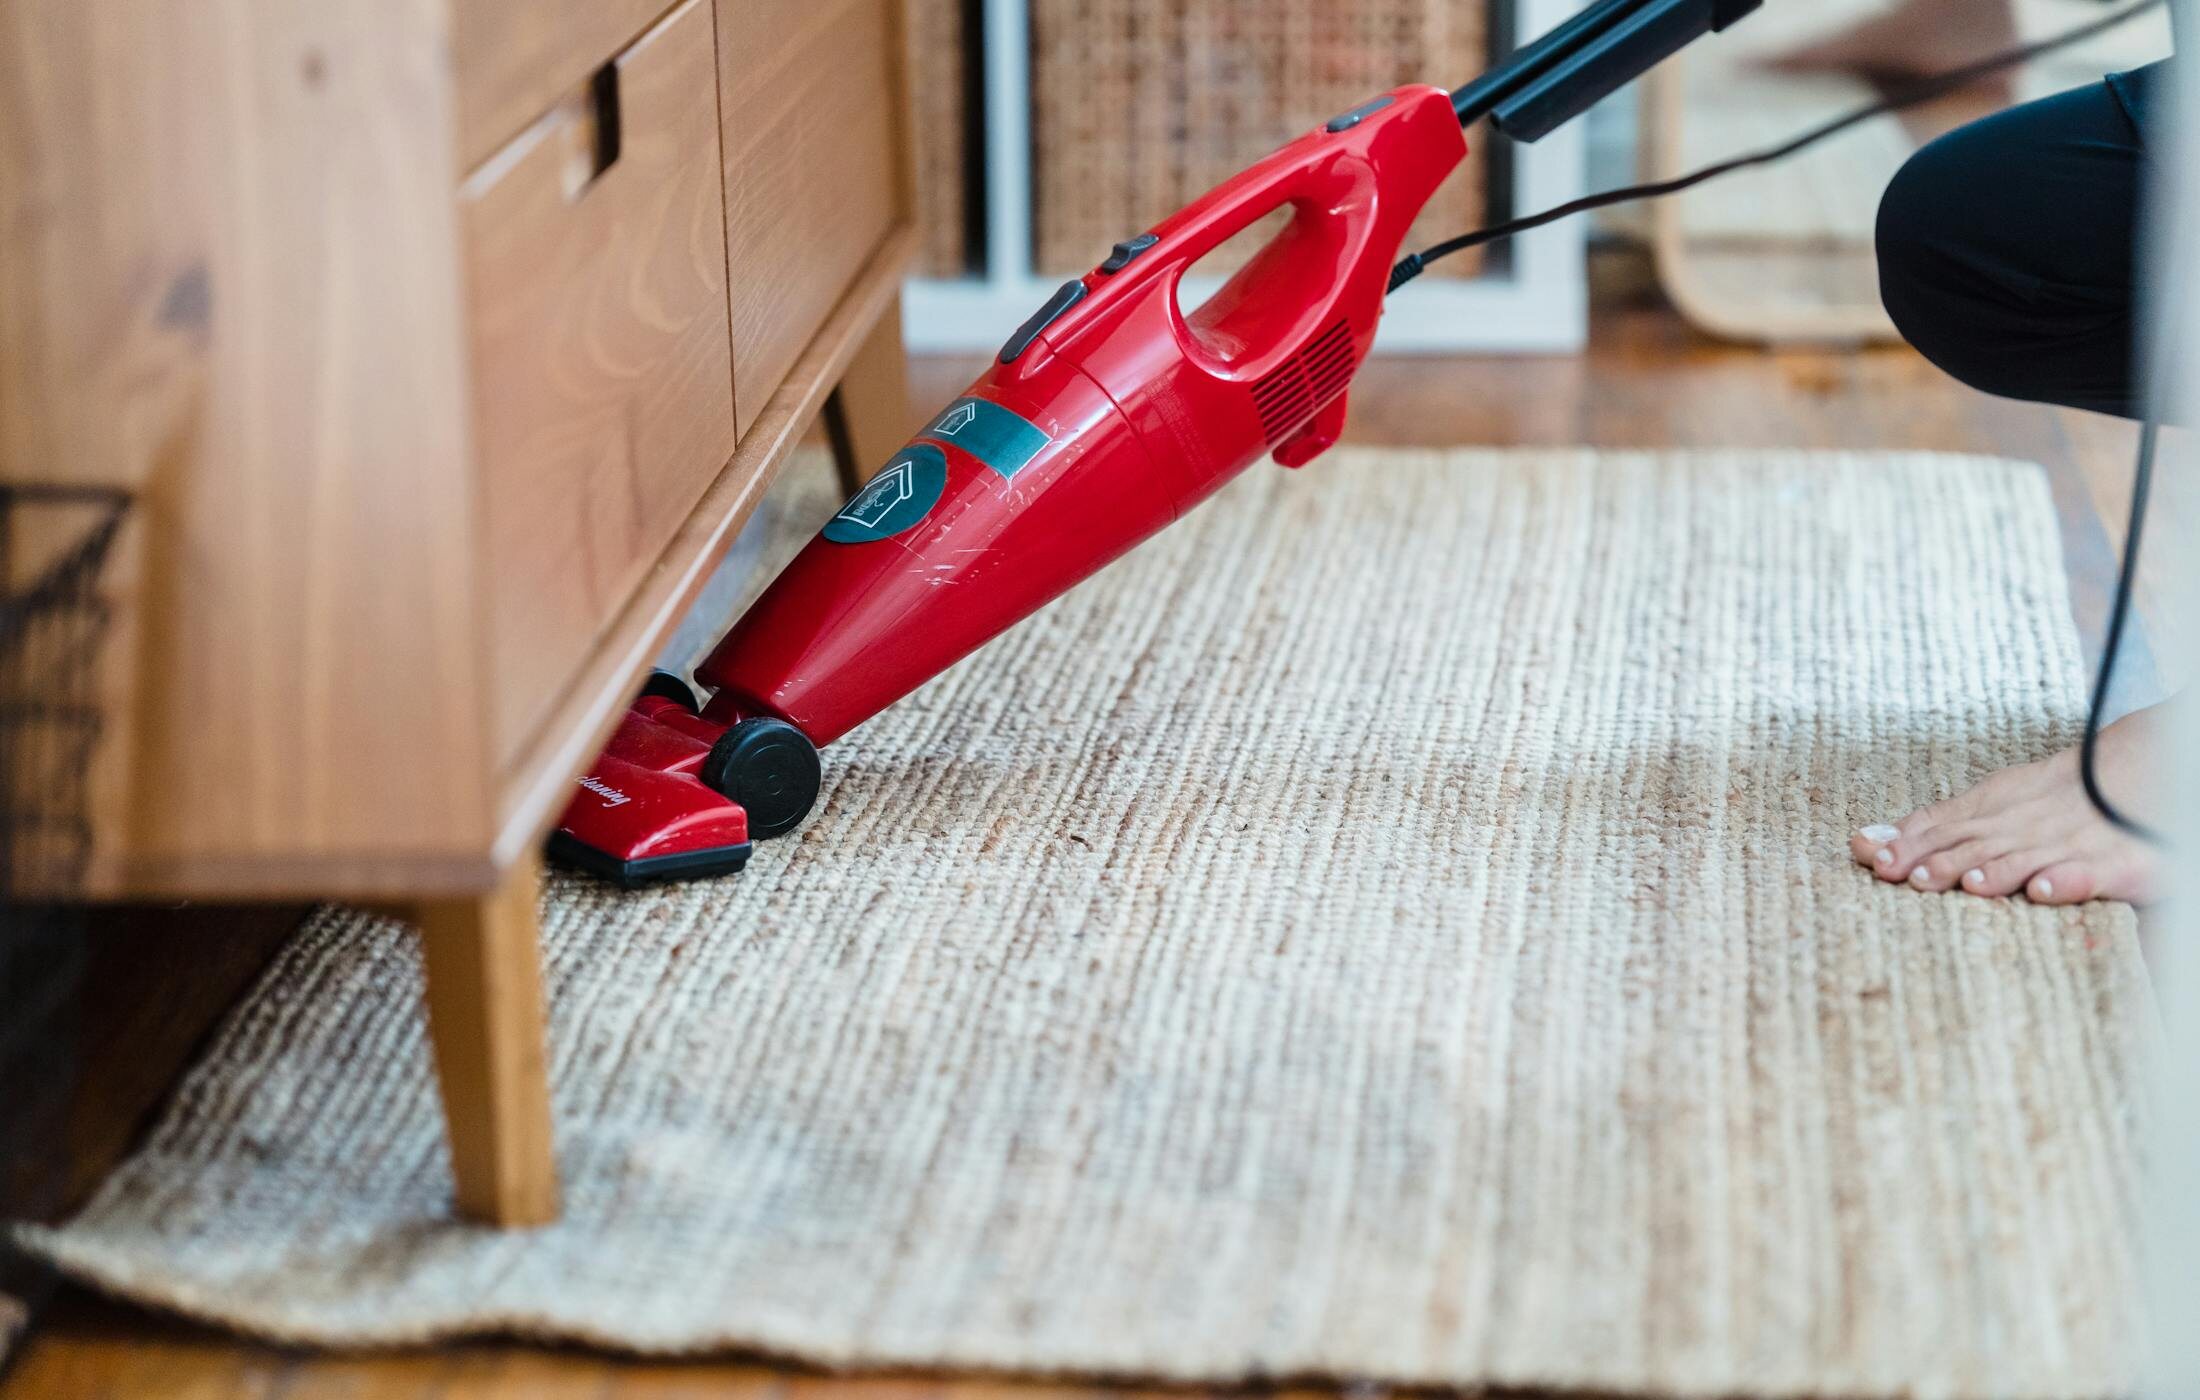
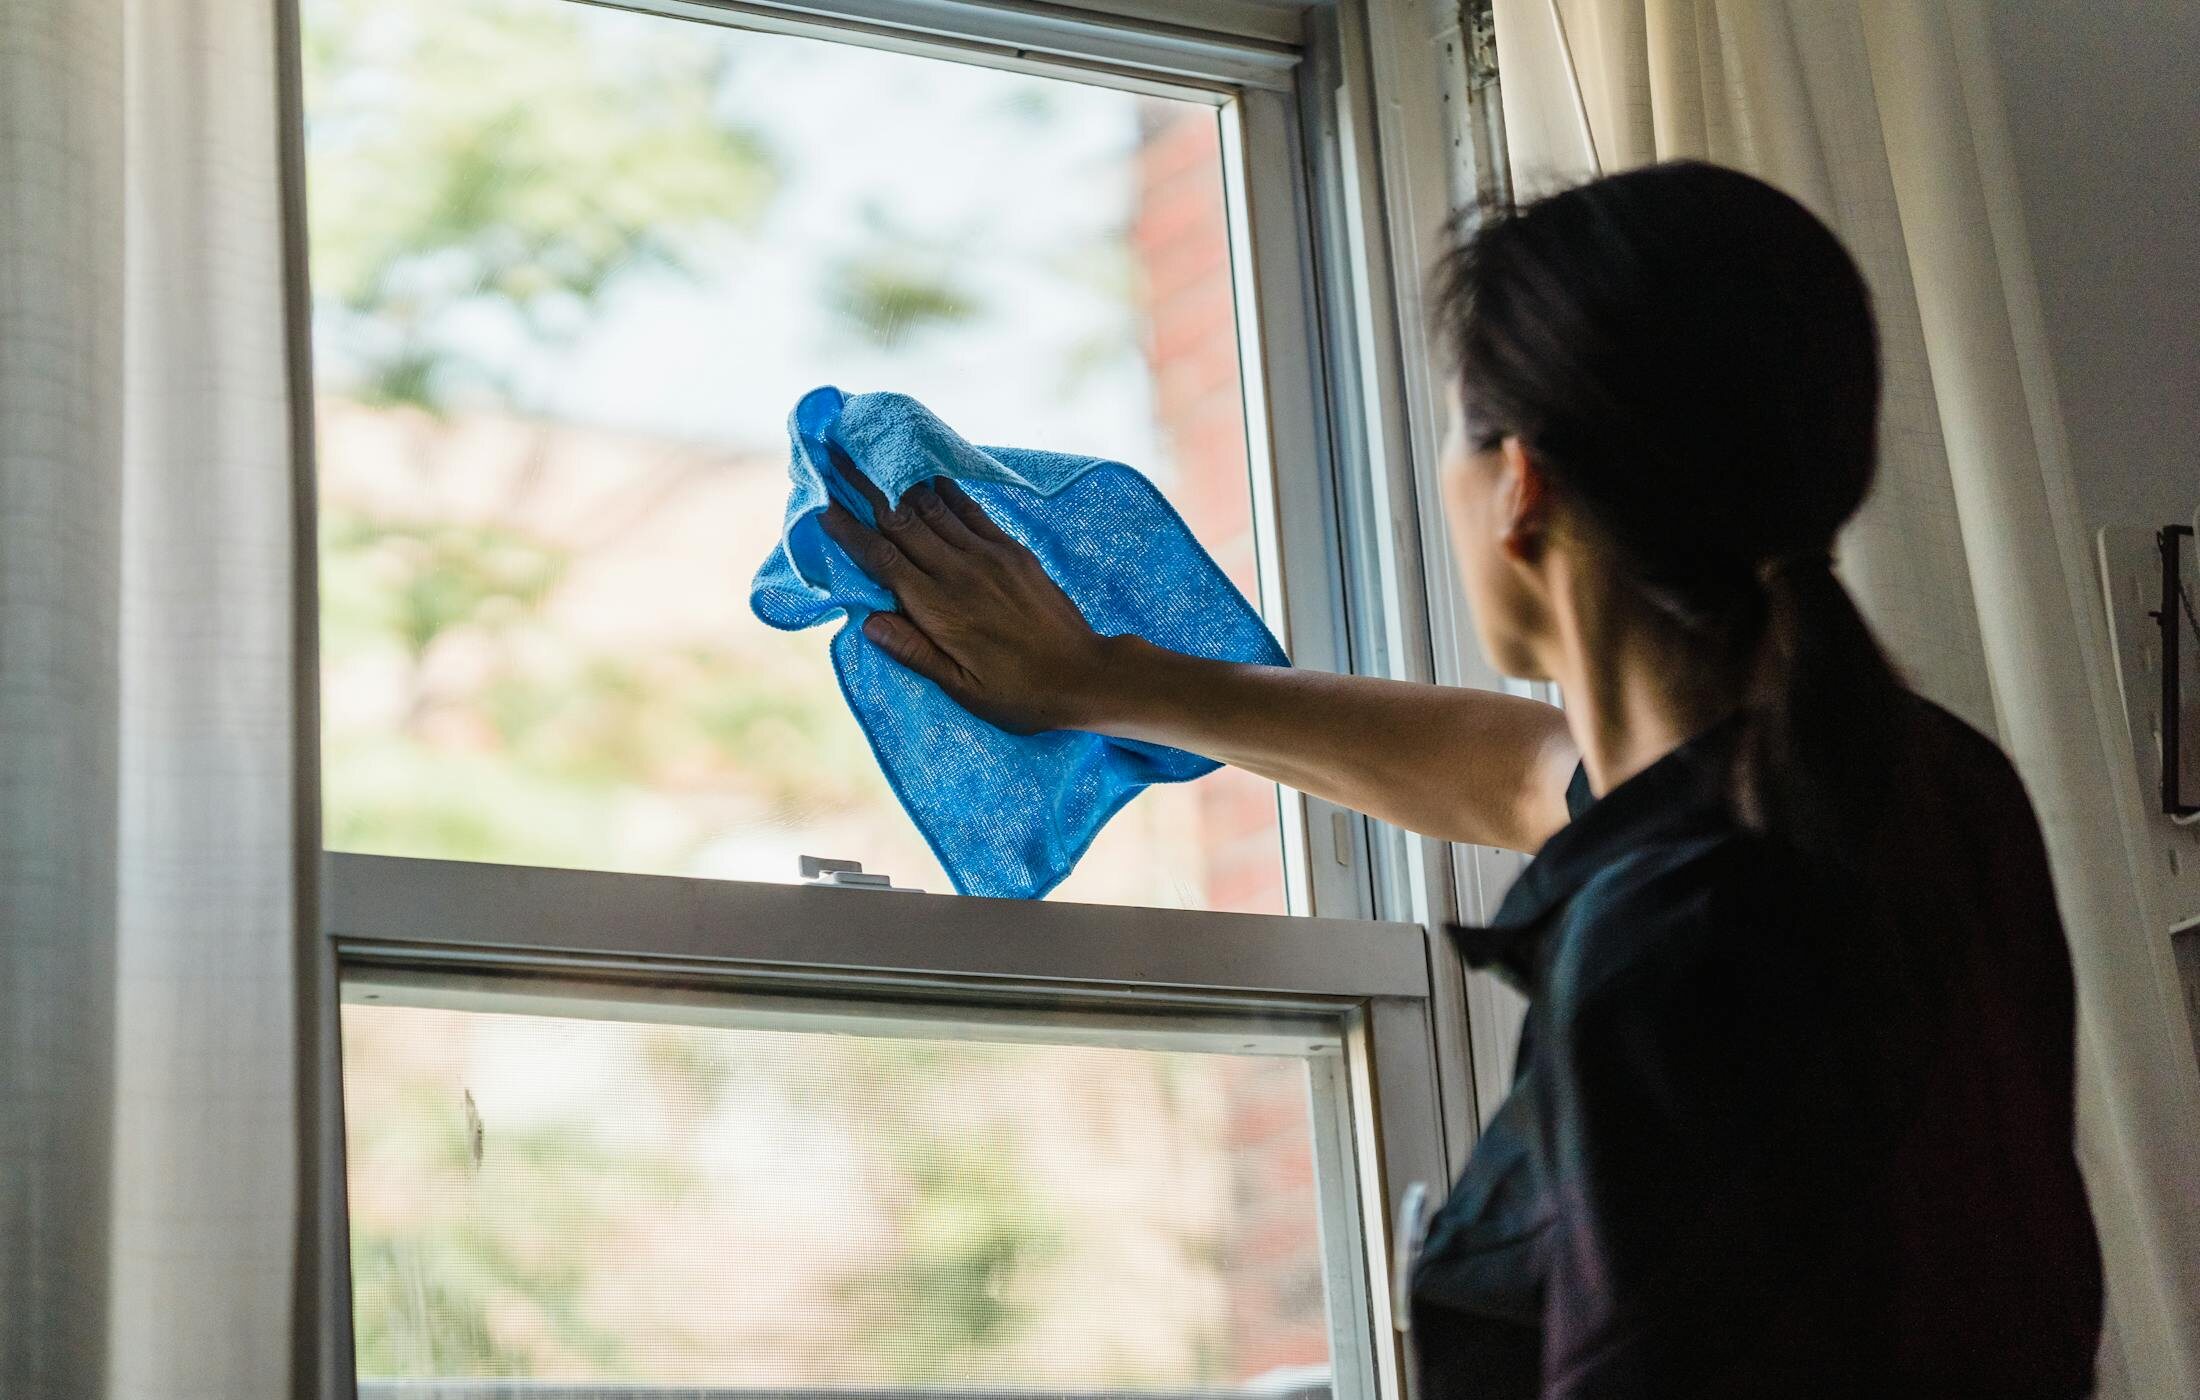
Next, think about protection. Fresh surfaces need a gentler approach than people expect. If you have new wood flooring, vinyl planks, natural stone, custom joinery, or delicate hardware, do not attack everything with the harshest product in the cupboard. Match the cleaner to the material. Use soft microfiber cloths, not old rough rags. Prepare more cloths than you think you need. One cloth for an entire flat is how you spread fine dust from room to room.
A realistic home setup for construction dust looks like this:
- a HEPA vacuum, or at least a high quality vacuum that actually captures fine particles
- multiple microfiber cloths and mop pads
- two buckets, one for rinsing, one with clean water
- a soft brush or detail attachment for frames, trims, and sockets
- gloves, and ideally a respirator if there is still heavy dust in the air
- the correct surface-safe cleaner for new flooring, stone, or joinery
Ventilation matters too, but I would do it in short, stronger bursts instead of leaving one window cracked all day. A little airflow for hours often just shifts the dust around. Cross ventilation for a short period is usually more useful.
The right order for post-renovation cleaning
This is where most people either save themselves hours or accidentally create a second round of work.
1. Start at the top
Always work from top to bottom. Ceilings, upper shelves, curtain rails, light fixtures, tops of door frames, cabinet tops, upper tile edges. Dust falls. If you start on the floor, the floor will not stay clean.
Use a soft vacuum attachment or dry microfiber first. Skip the frantic feather duster routine. That just throws particles around.
2. Dry removal comes before wet cleaning
This is the core rule of post-renovation cleaning. Fine dust after renovation should not be wiped wet as the first step. It needs to be safely removed dry first.
That is why a HEPA vacuum matters. A decent HEPA vacuum captures the fine dust instead of blasting part of it back into the room. If all you have is an older household vacuum without proper filtration, be careful. For everyday crumbs, fine. For construction dust, often not fine at all.
Vacuum slowly. Go room by room. Hit the skirting boards, corners, window tracks, radiators, outlets from the outside, base of door frames, and the line where floor meets wall. Only after the dry phase is done should you move to slightly damp cleaning.
Slightly damp, by the way, is doing a lot of work in that sentence. You do not want soaked floors and muddy residue. You want controlled wiping, frequent rinsing, and fresh water. Change the water more often than feels necessary. It is worth it.
3. Expect a second detail round
Most flats look dramatically better after the first full pass. They are often not fully done.
Construction dust has a frustrating habit of settling again. That is why good post-construction cleaning often includes a second detail round a few hours later or the next day. The usual repeat offenders are window sills, sockets, trims, wardrobe tops, inside corners, radiator fins, and the stretch of floor nearest the work zone.
Bathrooms and kitchens can add extra work because you may also be dealing with silicone traces, grout residue, fingerprints from installers, labels, adhesive film, or haze on tiles and glass. This is exactly where new surfaces get damaged by impatience.
Where people make the most common mistakes
The first mistake is mopping too early. Once fine dust turns into grey paste, it gets pushed into grout lines, edges, textures, and floor seams. On tile, you can usually recover. On wood or vinyl, it is much easier to make a mess than to fix one.
The second mistake is using the wrong vacuum. People assume any vacuum is better than none. I do not agree. If it cannot trap fine dust, it may give you the illusion of progress while sending particles back into the room. That is why the HEPA vacuum question is not gear snobbery. It changes the result.
The third mistake is skipping detail zones. Skirting boards, plug sockets, switches, tops of frames, blind slats, radiator surfaces, inside window edges. This is where a flat gives itself away. You can have shiny floors and a lemon-cleaner smell, but if a fingertip comes away grey from the top of a door frame, the cleaning is only half finished.
Another big one is overdoing chemicals. After renovation, people want strong products and fast results. I understand the impulse. Still, aggressive degreasers, acidic cleaners, or abrasive pads on fresh finishes can leave marks you did not have before. Slow and material-safe beats fast and reckless every time.
When professional post-construction cleaning is worth it
You can absolutely handle some post-renovation cleaning yourself. It makes sense when the job was small, the dust stayed mostly in one room, and you have time to clean in stages. But there is a point where professional help becomes the sensible option, not the fancy one.
Usually that point comes in three situations.
First, the space is large or several rooms were renovated at once. Fine construction dust spreads too far and the cleanup becomes bigger than it looked on paper.
Second, you have expensive or sensitive surfaces. New wood floors, specialty stone, matte fixtures, custom kitchens, fresh joinery. One rushed cleaning session can leave scratches or dull patches that are much more expensive than the cleaning itself.
Third, the deadline is tight. Maybe you are moving in on Friday. Maybe a tenant handover is booked. Maybe family is arriving. Time pressure is where people make the worst cleaning decisions. Too much water, the wrong product, not enough filtration, skipped details.
Honestly, the combination of a new floor and a moving deadline is the worst of the lot. That is where professional post-construction cleaning earns its keep.
If you are in Prague and trying to decide whether to do this yourself, ask a plain question before you start: is this only a final cleanup, or are you also dealing with adhesive residue, grout film, paint specks, and fine dust across the whole flat? That answer changes the time, equipment, and risk level immediately.
The safest approach is simple. Remove bulky debris first. Clean from top to bottom. Do dry dust removal before any wet wiping. Use a HEPA vacuum if you can. Then go back for the detail round that everybody wants to skip.
If you would rather not gamble with fresh surfaces and floating construction dust, ČistýKout is a Prague-based cleaning option worth considering. You can send a no-pressure enquiry through the contact form and quickly find out what makes sense to handle yourself and what is better left to a professional post-renovation cleaning team: https://www.cistykout.cz/en/contact