Post-renovation cleaning looks deceptively simple. Grab a vacuum, a mop, crack the windows open and push through it. That works for ordinary mess. It does not work nearly as well after painting, sanding, tile work, a new kitchen installation or a flooring job. What stays behind is not just visible debris. It is the fine construction dust that settles into skirting boards, outlet edges, window tracks, radiators and cabinet tops, then quietly shows up again a few hours later.
That is why the smart question is not "Can I clean this myself?" but "Which part is realistic to do myself, and where do I start wasting time or risking damage?" Once you split the job that way, the decisions get easier. Some renovation mess is annoying but manageable. Some of it turns into a two-day loop with the same white film returning over and over.
Before you touch a mop, map the mess
Walk through the home room by room and sort the mess into three buckets: bulky waste, fine dust and delicate surfaces. Bulky waste means packaging, leftover foil, dried blobs of grout, tape, cardboard and builder scraps. Fine dust is the powder that keeps moving through the room. Delicate surfaces include new cabinetry, wood floors, vinyl, stone, matte black fixtures, fresh lighting and recently installed glass.
- List the rooms with the heaviest fine dust.
- Mark the materials you do not want to attack with aggressive products.
- Decide which areas must be usable first - usually the kitchen, bathroom and bedroom.
How to tell you can handle it yourself
DIY post-renovation cleaning still makes sense after a smaller project. One painted room. A kitchen swap without major structural work through the whole flat. Minor carpentry. A contained bathroom refresh. In that kind of situation, the job is tiring but still manageable if you have time, a decent vacuum, plenty of microfiber cloths and enough patience to clean in the right order.
- Dust is concentrated in one or two rooms, not the whole home.
- You are not dealing with heavy dried residue across large glass or tile areas.
- There is no especially sensitive stone, wood or designer finish you could easily ruin.
- You can split the work into a dry-cleaning pass first and a damp finishing pass later.
Honestly, discipline matters more than enthusiasm here. People rush because they are desperate to be done. They start on the floor, add too much water, smear the dust into gray streaks and then assume the cloth is the problem. Usually it was the sequence.
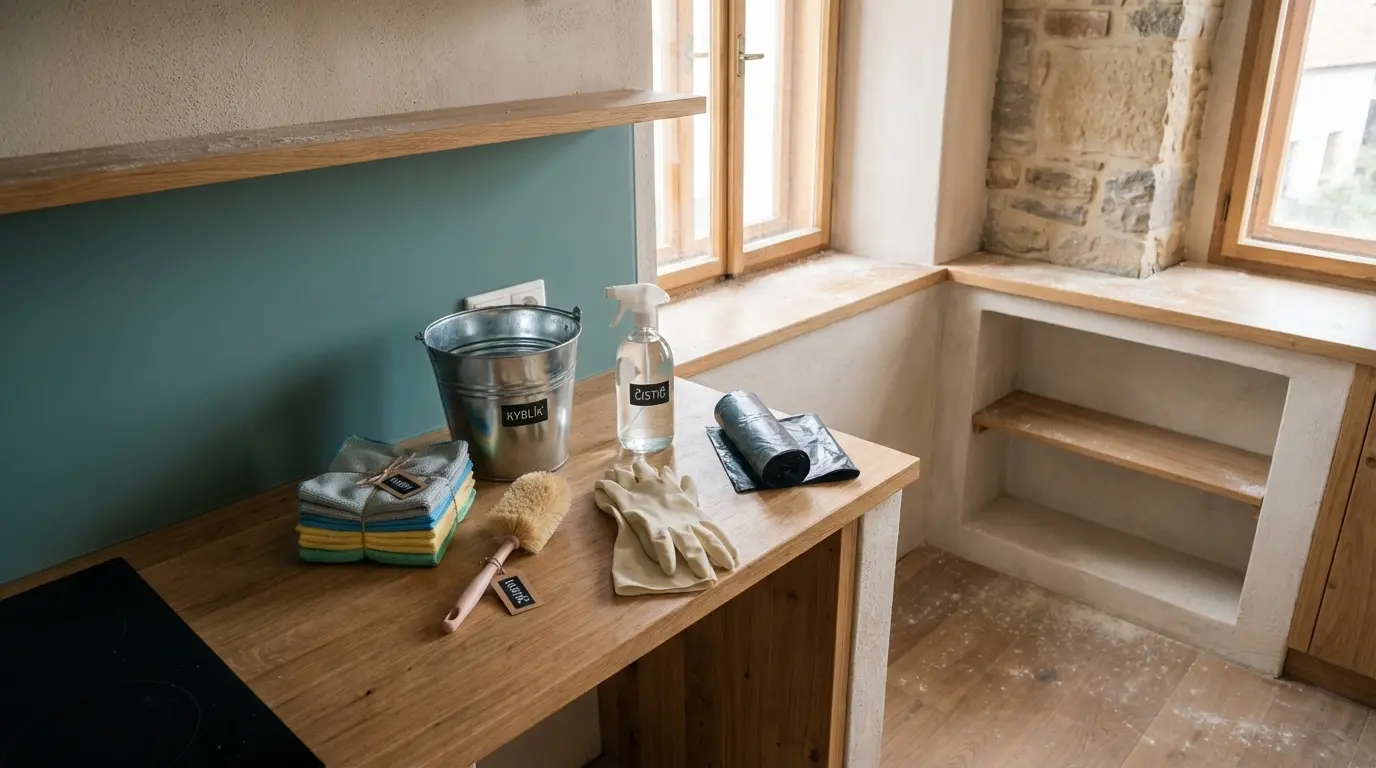
What to prepare so you are not improvising
A single all-purpose spray will not carry this job. You want multiple microfiber cloths, gloves, waste bags, a soft brush for detail work, a glass squeegee, a gentle cleaner for new surfaces and, ideally, a vacuum that does not blow fine dust back into the room. HEPA filtration helps a lot. It does not have to be industrial equipment, but a cheap vacuum with poor filtration can make a sanding aftermath feel endless.
The order that saves you time: dry first, damp second, floors last
This is the rule that prevents repeat work. Remove waste first. Then vacuum from top to bottom - upper door edges, frames, vents, radiators, skirting boards, tracks, shelf tops, then the open surfaces. After the dry pass, return with a slightly damp microfiber cloth. Slightly damp. Not wet. The goal is to lift remaining dust, not turn it into paste.
Floors belong at the very end, and often they need two rounds. The first pass catches what fell during detail cleaning. The second pass tells you whether you missed a high surface somewhere.
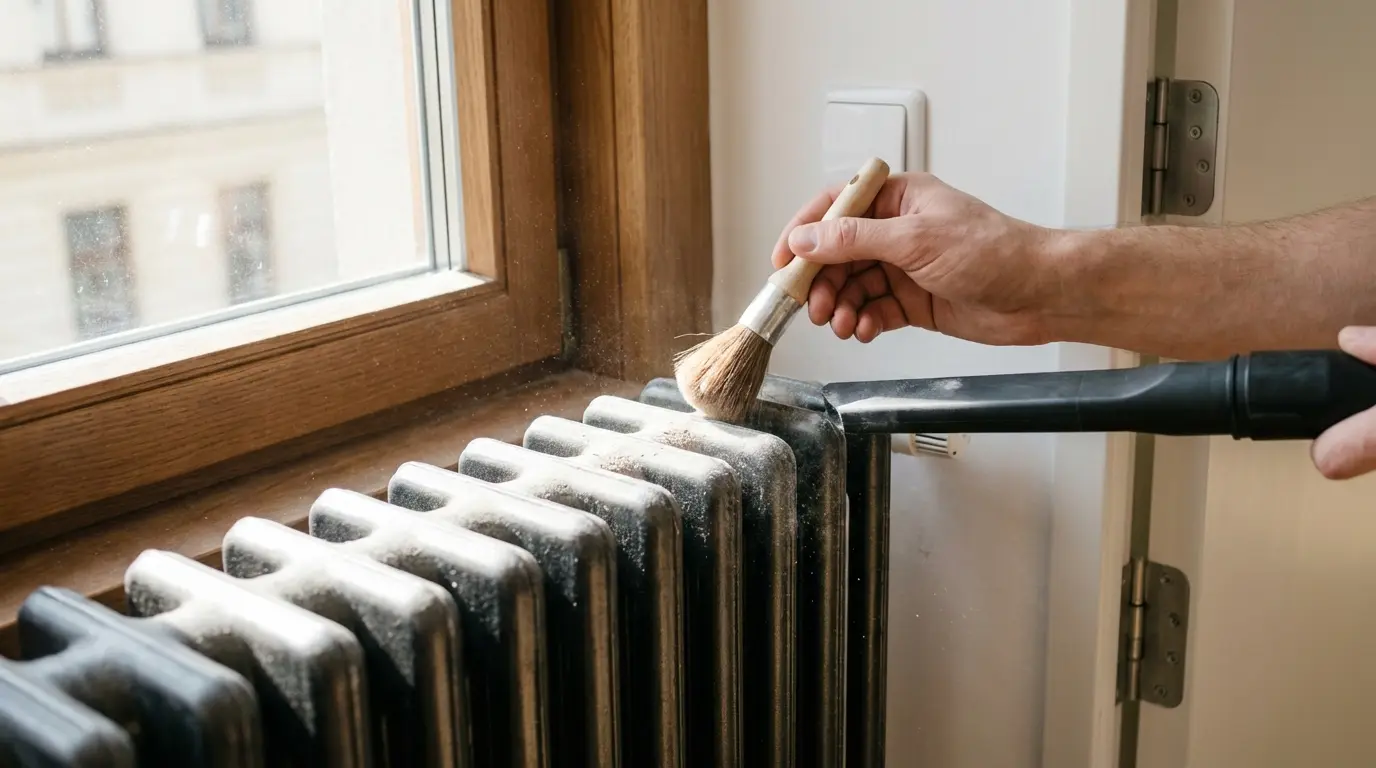
Where the dust hides
Fine renovation dust does not just fall downward. It lodges in window channels, behind radiator fins, around outlet covers, on cable runs behind electronics, on wardrobe tops, under kitchen kickboards and along internal corners. In real flats, especially after flooring or bathroom work, it tends to reappear first on dark furniture, black appliances and glossy surfaces. That does not automatically mean you cleaned the whole place badly. It usually means one detail was missed and keeps feeding dust back into the room.
- skirting board edges and floor joins
- door frames and cabinet tops
- radiators, vent grilles and extract points
- outlet surrounds, switches and light fittings
- window tracks and frame profiles
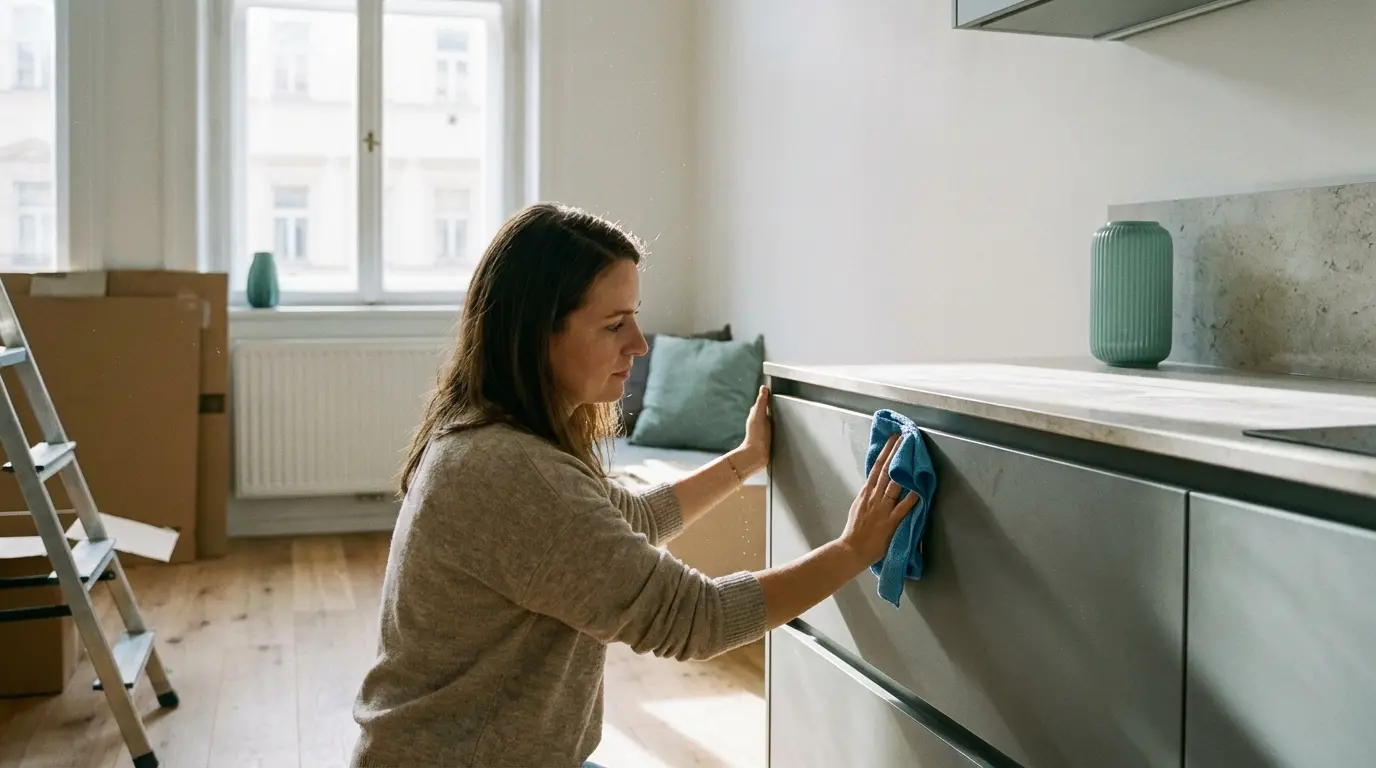
Surfaces that need extra care
The newest surfaces are often the easiest to damage. Fresh kitchen fronts, stone worktops, vinyl flooring, lacquered finishes, matte fixtures and new glass all have their own limits. Use too much water, the wrong acidic cleaner or an abrasive sponge and you can create a second problem while solving the first one. If you are unsure, test the product on a discreet area and stay on the gentle side.
- Keep water under control on wood and laminate.
- Do not assume natural stone can handle the same cleaner as ceramic tile.
- Do not scrub construction dust off glass with the first rough pad you find.
- On fixtures, frames and painted surfaces, gentle microfiber usually beats force.
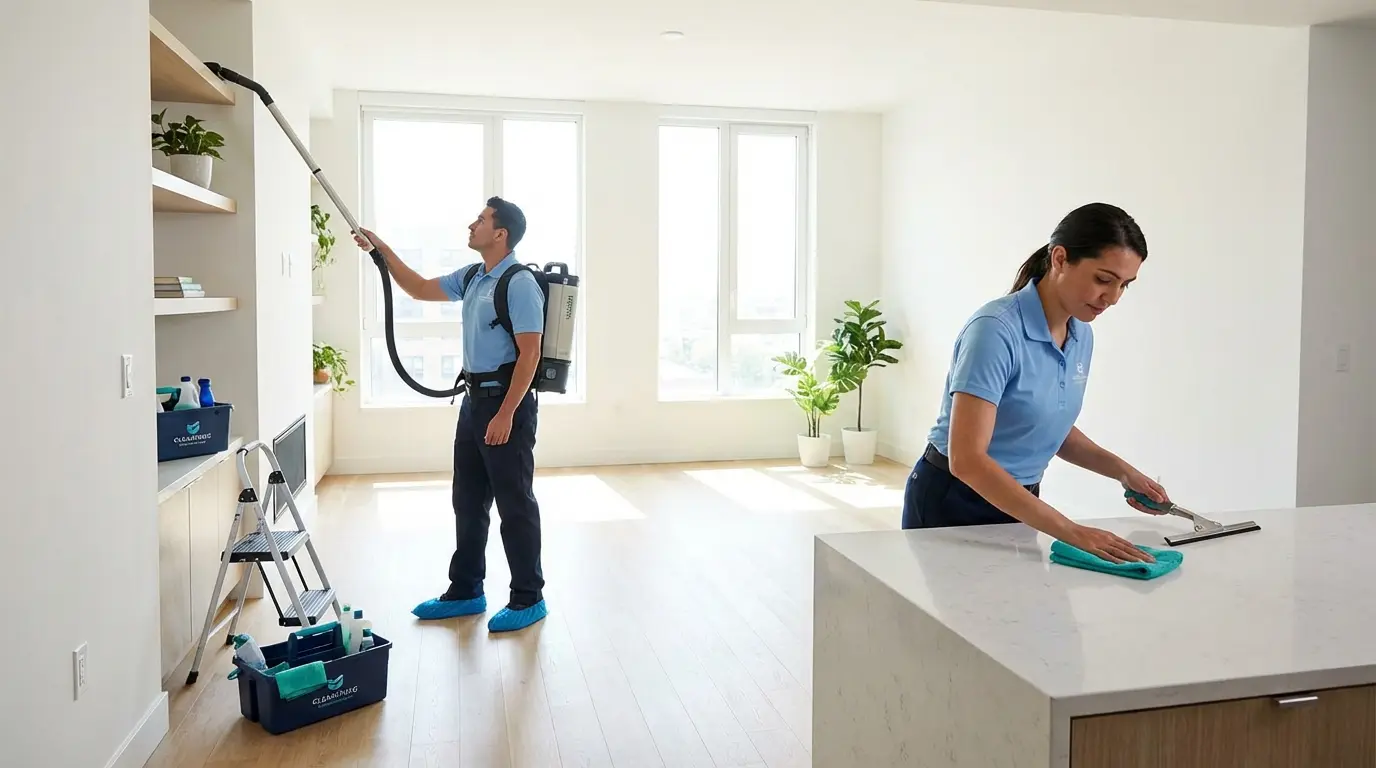
When DIY stops making sense
Sometimes the issue is not effort. It is scale. If fine dust spread through the whole home, several rooms were worked on, windows need post-builder cleaning, joints need detail work and you also need the flat ready quickly, the DIY route becomes expensive mainly in hours and frustration. And after renovation, time is often the one thing people have already burned through.
Call professionals when
- dust keeps returning after repeated careful cleaning
- the home must be ready for move-in, handover, photography or guests
- you have large glass areas, sensitive materials or expensive new finishes
- the kitchen and bathroom both need to be brought back into normal use fast
- someone in the household is highly sensitive to fine dust
A very typical real-world scenario goes like this: a family gives themselves one weekend to finish cleaning a renovated flat. Saturday goes to debris, boxes and the first vacuum pass. Sunday goes to floors, windows and the kitchen. Monday morning still brings dust on the shelves, marks left in the bathroom and a kitchen that does not feel truly ready. That is the moment professional post-renovation cleaning starts to pay off. Not because DIY is impossible, but because it has stopped being efficient.
A two-minute decision filter
- One room and light dust? DIY is reasonable.
- Several rooms, builder marks, windows and detail work? Start comparing professional help.
- Sensitive new materials? Be more careful than brave.
- Need the whole place ready within a day? A pro team has a real speed advantage.
Mistakes that create extra work
The same mistakes repeat all the time. Mopping too early. Using one cloth for the entire flat. Skipping high surfaces and then wondering why dust comes back. Hitting new materials with a strong degreaser because you want the job finished fast. The catch is simple: after renovation, the slow, methodical approach is usually the fastest one in the end.
When to book help through CistýKout
If you are done spending evenings on skirting boards, windows, detail dust and repeated floor washing, it makes sense to request post-renovation cleaning through CistýKout. You can reach providers in your area, compare who can handle the scale of the job and line the service up with the day you actually want the home back in working order. The best moment to send the request is when you already know the dust level, the materials involved and the deadline for getting the place truly usable again.