A flat can look finished long before it is actually clean. The paint has dried, the handles are back on the cabinets, the floor looks new, and everyone wants to move in already. Then you open a drawer and a soft white film appears on the rails. You wipe the window ledge, come back an hour later, and the dust is back. That is the part people underestimate. Post renovation cleaning is not normal housekeeping with a mop and good intentions. It is a sequence problem. Get the order wrong and you keep pushing construction dust around the apartment, sometimes straight into the very surfaces you just paid to upgrade.
What stays in the apartment after renovation, even when you cannot see it at first
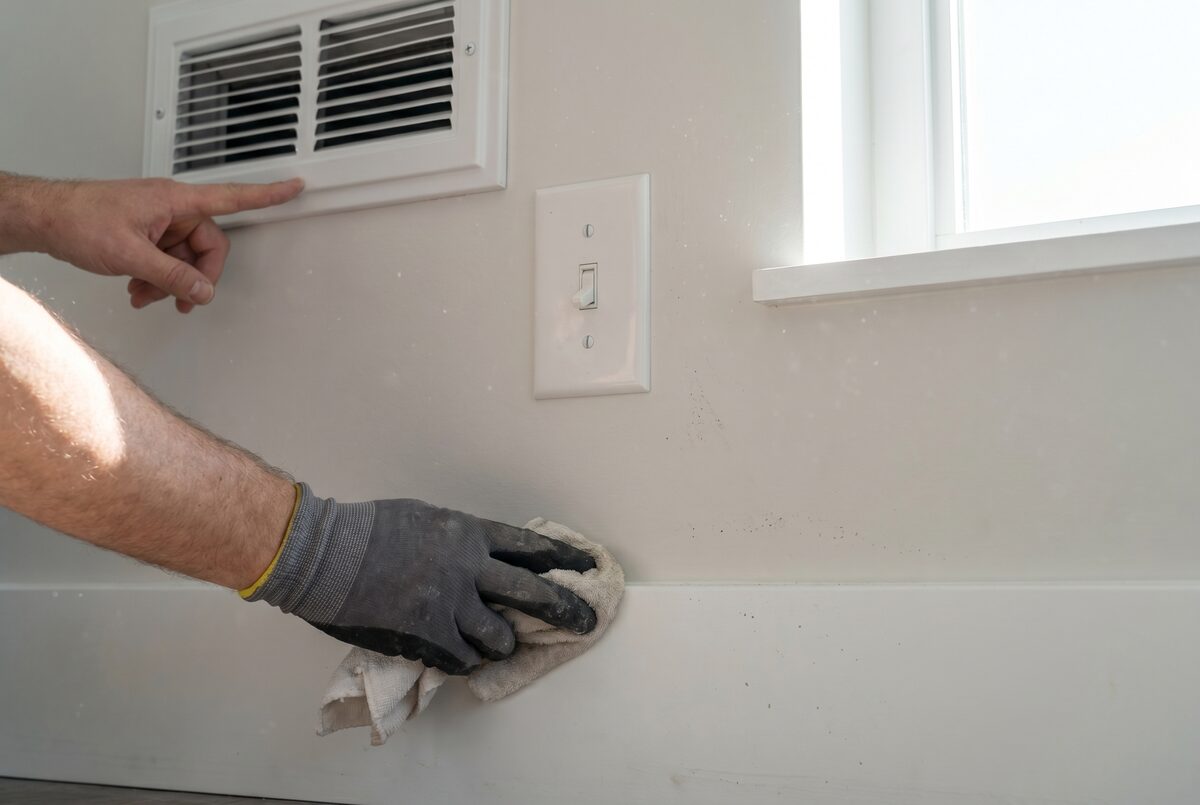
Most people notice the obvious mess first: plastic sheets, bits of tape, cardboard, screws, maybe a few dried paint splashes. That is not the hard part. The hard part is the fine construction dust that settles into places you would never call dirty in normal life. Drawer runners, cable channels, door frames, top edges of wardrobes, radiators, window hinges, ventilation grilles, curtain fabric, the side of the mattress left uncovered for one afternoon. In Prague flats, especially older apartments with lots of trim, ledges, and transitions between rooms, that dust has endless hiding places.
I have seen this after small painting jobs and after full fit-outs. The pattern barely changes. The floor looks decent, someone does one quick vacuum, then the next day there is a pale layer back on the oak floor and the black induction hob looks dusty again. Nothing mysterious is happening. The dust was still there, just suspended, redistributed, or waiting inside details no one cleaned the first time.
Adhesive residue and silicone leftovers are another trap. So are protective films that seem easy to peel off until they leave a sticky edge behind. Standard vacuuming does not fix any of that. Worse, a normal domestic vacuum without proper filtration can make the room feel cleaner while recirculating the finest particles back into the air. If anyone at home has allergies, asthma, or just no patience left after a renovation, that is a miserable combo.
The right cleaning order, so dust does not keep coming back
If you want to know how to clean after renovation without endless rework, keep this order: remove bulk waste first, tackle dry debris second, and only then move to damp or wet cleaning. Starting with mopping is the classic mistake. It feels productive. It usually is not.
Begin with everything you can collect by hand. Plastic covers, masking tape, cardboard, chunks of plaster, packaging, leftover screws, cable ties, offcuts, labels from new fittings. Once those are gone, you can see the real cleaning job.
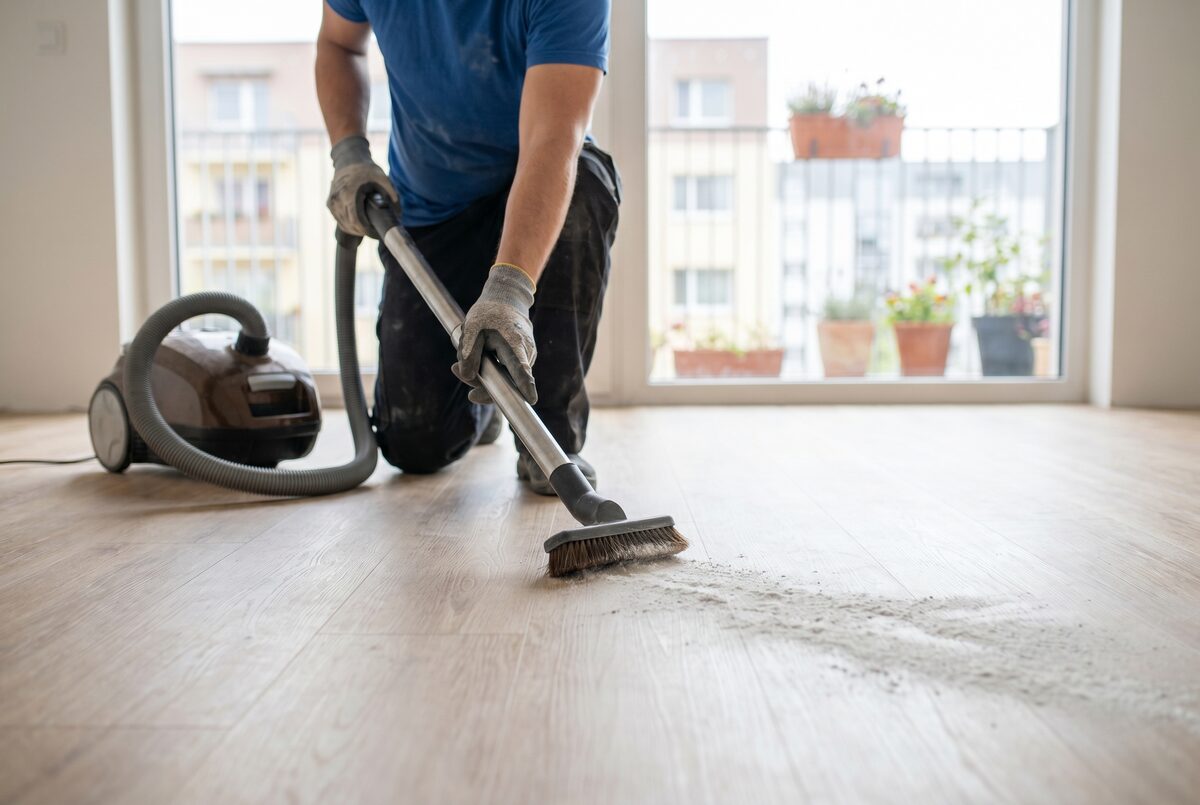
Then work top down. Always. Ceilings, light fixtures, curtain rails, the tops of doors, wardrobe edges, window frames, shelves, sockets, skirting boards, and only then the floors. Dust obeys gravity, not your schedule. Clean the floor too early and the next wipe of a shelf throws more dust right back down.
In practice, I like to think of post renovation cleaning in three passes:
- pass one: remove bulk waste and dry debris
- pass two: detailed HEPA vacuuming from top to bottom
- pass three: surface-specific damp cleaning and final floor care
That order matters even more after painting or drilling. Paint dust and plaster dust turn into a pale paste if you rush in with too much water. Then you are no longer lifting dirt off the surface. You are smearing it into corners, grout lines, and floor texture.
How to vacuum and wipe after painting or drilling without damaging surfaces
A HEPA vacuum after renovation is not overkill when the job involved plaster, sanding, cutting boards, chasing walls, or repeated drilling. It is the difference between trapping fine particles and blowing part of them back into the room. Standard household vacuums can help with crumbs and daily dust. Construction dust at home is a different category.
Use attachments that match the surface. On floors, go with a soft head that will not trap grit underneath. On frames, rails, vents, and corners, use a narrow attachment with a brush. For upholstery, mattresses, or fabric headboards, a small upholstery tool works better than dragging a hard floor head across the surface. Tiny details matter here. One piece of grit stuck under a wheel can scratch brand new vinyl faster than people expect.
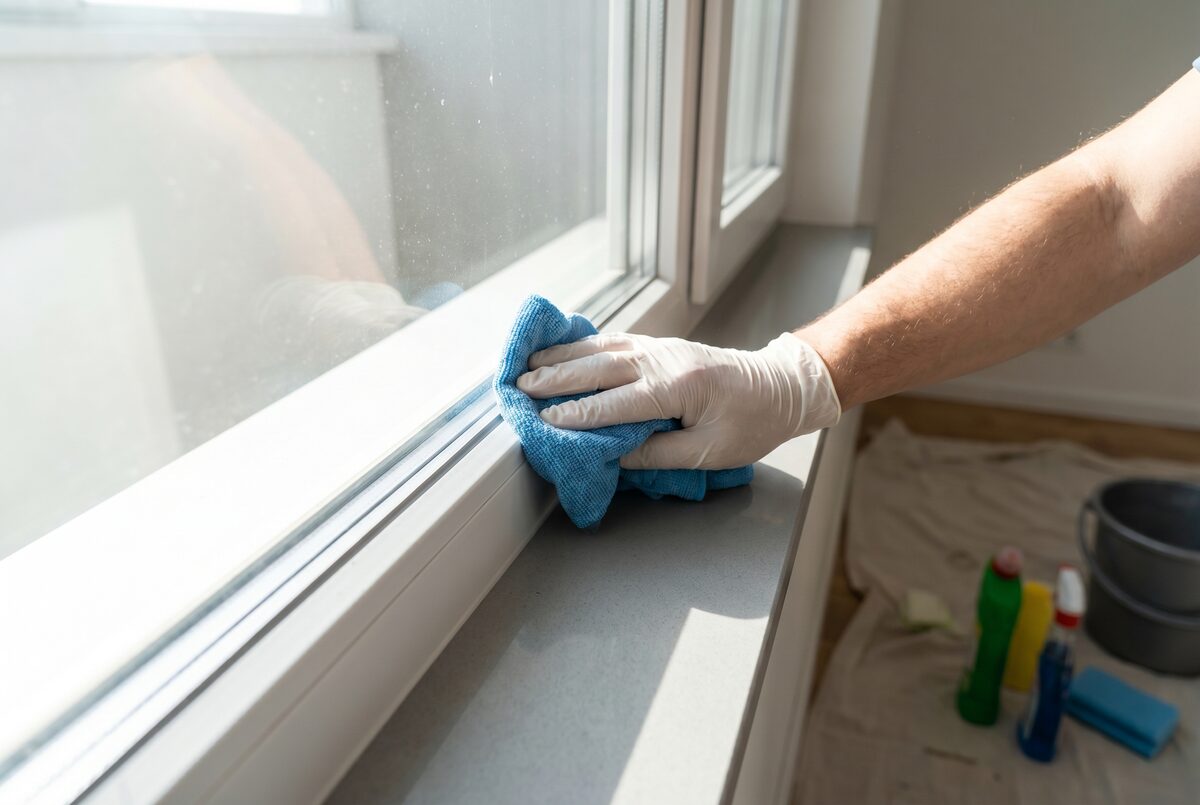
After vacuuming, wipe hard surfaces with lightly damp microfiber cloths, not dripping ones. That sounds minor, but it changes the result. Too much water mixes with dust and leaves a cloudy film. Microfiber should collect, not slurry. Change cloths often. Change the water before it turns fully grey. Check the vacuum filter before performance drops. Fine dust clogs filters quickly, and once suction falls off, you start losing time.
When clients ask me what usually goes wrong after painting, I almost always say the same thing: they underestimate how many clean cloths they will need. One cloth for windows, another for painted trim, another for switches and sockets, another for the floor edges. Reusing the same dirty cloth across all of that is how fresh white paint ends up with grey marks around the frame.
What to watch with floors, windows, and newly finished surfaces
Not all floors forgive the same mistake. Laminate does not like excess water. Vinyl hates abrasive pads and gritty tools. Wood reacts badly to standing moisture, harsh chemicals, and careless dragging. Tile is more forgiving, but polished tile can still get scratched by fine building residue or grout particles left underfoot.
Fresh finishes need patience. Just because paint feels dry does not mean it is ready for scrubbing. The same goes for lacquered joinery, coated metal details, and newly finished wood. Check curing times. If the contractor said twenty four hours, do not interpret that as permission to attack it with a strong degreaser and a rough sponge twelve hours later.
Windows are another frustration point. After renovation, people often see haze, sticker glue, and fingerprints and reach for the rough side of a kitchen sponge. That is how a nice new frame ends up with fine scratches in the wrong light. A better route is slower but safer: loosen residue gently, use a plastic scraper made for delicate surfaces, wipe with clean microfiber, and repeat if needed.
In Czech apartments, I would be especially careful around oak floors, matte black fittings, and large format bathroom tiles. Those surfaces look great in the handover photos and show every mistake during cleanup. If you are not sure about a product, test it on a small hidden patch first. That one minute check can save an ugly repair conversation later.
When professional post renovation cleaning is worth it
Sometimes home cleaning is perfectly reasonable. One painted bedroom, a few drilled holes, some dust in the hallway, fine. But once the renovation touches several rooms, involves sanding, tile cutting, kitchen fitting, new floors, or a moving deadline, the maths changes.
People tend to compare only the invoice. They forget the rest of the cost. Your weekend disappears. You may need a HEPA vacuum, new filters, extra microfiber cloths, a safer scraper, surface specific cleaners, maybe help from another person, and you still carry the risk of damaging a fresh floor or leaving hidden dust in the apartment. That hidden cost is real.
Professional post renovation cleaning usually makes sense when:
- several rooms were affected and dust spread into wardrobes or closed storage
- you need the flat ready before moving in or handing it over
- the apartment has sensitive surfaces such as timber flooring, premium vinyl, or matte finishes
- you do not own a proper HEPA vacuum after renovation
- dust still settles again after two serious rounds of cleaning
In Prague, the value of time matters too. If two adults spend most of a weekend cleaning a 3 room flat after works, buy extra supplies, and still hesitate over the windows and floor finish, the "cheap" DIY route stops looking cheap. There is also the simple reality that post renovation cleaning is not pleasant. Most people are already tired of decisions by that stage.
When booking a service, describe the job properly. Say what kind of works happened, the flat size, number of rooms, floor types, whether there was sanding, painting, drilling, tile cutting, silicone residue, protective film left on surfaces, or installation dust inside cabinets. A vague "cleaning after renovation" request often leads to vague pricing and awkward surprises on arrival.
Final checklist before normal daily life starts again
Before you call the apartment ready, inspect the places standard cleaning skips. Run a finger over the top edge of a door, inside a drawer track, along a skirting board, over a vent grille, behind the sofa legs, across the window sill, and on the inside shelf of a wardrobe. That quick check tells the truth faster than a shiny floor in the middle of the room.
Textiles matter more than people think. Curtains, the sofa, dining chairs, and the mattress can quietly collect fine dust during works. Then every movement sends a little more back into the air. If the room still feels dusty the day after cleaning, fabric is often part of the story.
One simple test works well. Clean a dark tabletop or glass surface thoroughly in the evening, leave the windows in their normal position overnight, and check it in the morning. A light everyday layer is normal. A fresh pale film that clearly reads as construction dust means the apartment still needs another controlled pass.
And do not wait too long. Dust, adhesive traces, and renovation residue are usually easier to remove early than after they have been walked in, heated up, or left to cling to new surfaces for days. If you want the flat genuinely ready to live in, and you would rather not gamble with scratched floors or another lost weekend, ČistýKout can help. We are a Prague based cleaning option, and we handle post renovation cleaning around the actual surfaces and scope of work, not a one size fits all checklist. You can reach out through our contact form for a no pressure quote.