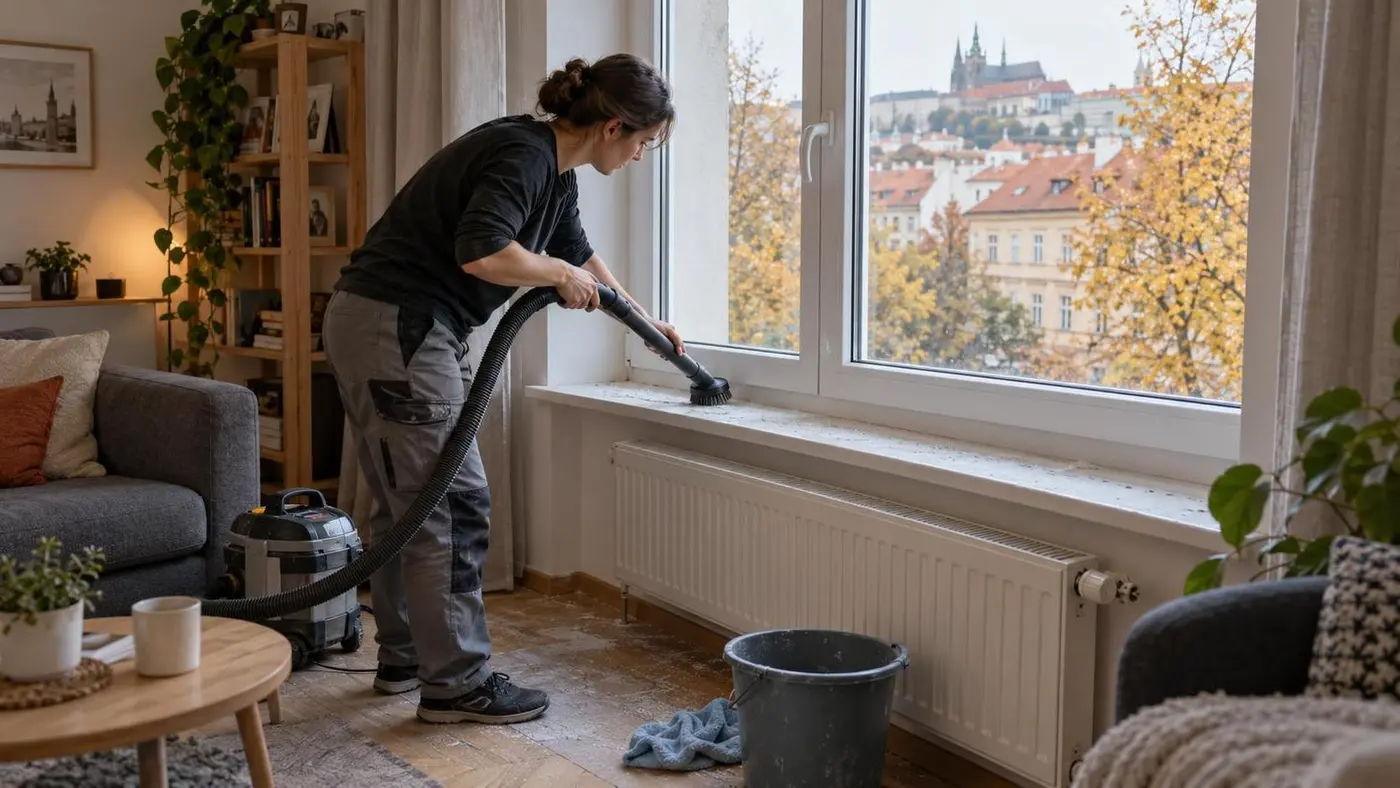
New windows look finished long before the room is truly clean. You wipe the sill, vacuum the floor and call it a night. By morning, a pale film is back on the dark boards. Turn on the radiator and you may even smell dust again. Cleaning after window replacement is not ordinary window washing: drilling and plaster dust hides in frame channels, radiator fins, curtain folds and the gap beside the skirting board.
I saw this in a Žižkov flat after three windows had been replaced. The owner had already mopped twice, yet the room went grey again when the heating came on. The real dust pockets were behind a cast-iron radiator and inside the folds of a floor-length curtain. The floor was not the problem. The order of work was.
Why window replacement dust is different from everyday dust
Fitters usually leave three kinds of dirt behind. First come the obvious bits: chips of plaster, dried foam, film offcuts, screws and grains of sand. Do not drag those across a new sill or floor with a cloth. Pick them up carefully with a gloved hand or vacuum them using a wide nozzle without pressing down.
The second layer is fine construction dust. It settles behind curtains, inside a panel radiator and under trim. Add water too early and it turns into grey paste that a cloth pushes into drainage slots and seals.
Old greasy dirt is the third layer. Around old hardware it mixes with fresh powder and becomes a dark smear. Degrease only after the loose grit has gone.
A warming radiator moves air past the window. Curtains release a little dust whenever they move, while debris in the sash channel falls out when the window first opens fully. The flat does not need another deep clean. A few hidden reservoirs were missed.
What to prepare before the first vacuuming pass
Separate the work room from the clean part of the flat. Keep the door shut, stop walking through the hall in dusty shoes and do not carry clean textiles into the room. If fitting continues the next day, screen the doorway rather than taping plastic directly to a new profile. Adhesive can mark a decorative foil or leave residue.
For a careful window replacement dust cleanup, gather:
- a vacuum with a clean filter, preferably HEPA filtration, plus a soft brush and crevice tool;
- a soft paintbrush for channels, several microfibre cloths and one plain white cotton cloth;
- lukewarm water, a small amount of pH-neutral detergent and a separate glass cleaner;
- a radiator brush and an old sheet or large towel for the floor below;
- the right mop for your flooring, a spare vacuum bag or filter and a sturdy waste bag.
If the vacuum gives off a stale dusty smell as soon as it starts, it may be returning fine particles to the room. Change the bag early and keep metal nozzle edges away from new frames. One grain of plaster can score a glossy profile.
Switch the heating off and let the radiator cool. There is no need to detach it or loosen a valve for surface dust removal. That turns a cleaning job into plumbing work and creates a risk that has nothing to do with the original problem.
The right order: frames, radiators, textiles and floor
Collect the coarse debris around the opening first. Vacuum the upper sash edge, frame, sill and reveal. Move on to the radiator, curtain rail and textiles. The floor comes last. Only after this dry pass should anything be wiped with a damp cloth.
For a panel radiator, spread an old sheet underneath. Remove only covers intended for routine removal; never force a grille. Run a crevice tool between the radiator and wall while loosening dust from above with a flexible brush. A hairdryer without suction merely moves dirt across the room. On old cast iron, clean one gap at a time. Our guide to reducing dust in a flat for longer explains why heating and textiles keep putting particles back into circulation.
Take curtains down without shaking them indoors. Wash them according to the care label or vacuum both sides with an upholstery tool. Do the same for an upholstered chair beside the window.
Vacuum the floor again in two directions. Do not ram a crevice tool into engineered-board or parquet joints. On vinyl, watch for grit caught under the vacuum wheels. Mop only when a white cloth placed on the floor no longer picks up coarse grey residue. Change the water as it clouds. A grey bucket is no longer a cleaning solution.
Cleaning window frames and glass without damaging the finish
Cleaning window frames after installation starts dry. Open the sash fully and brush dust from the corners towards the vacuum nozzle. Keep drainage openings clear, but do not probe them with a screwdriver. Wipe seals while supporting them; do not pull them out of their channels.
White uPVC generally needs lukewarm water, a drop of mild washing-up liquid and a soft cloth. Foiled profiles are less forgiving, while aluminium and painted timber have their own limits. Test on a hidden spot. Window manufacturers' maintenance advice warns against abrasive pads, gritty creams, bleach and solvents.
Remove protective film within the fitter's stated period. If it sticks, do not attack it with a metal scraper. Ask which adhesive remover is approved. Identify sealant before treating it: acetone, white spirit and strong vinegar mixes can damage profiles, gaskets or coatings.
Wash the glass after the frame. Rinse or wipe it with clean water first so no grit remains. Then use glass cleaner and a clean squeegee. A razor blade may look efficient in a tutorial, but it can permanently mark coated or toughened glass. Photograph dried paint or sealant spots and ask the fitting company to deal with them when the correct method is unclear.
The 24-hour check: where dust returns
Use the room normally for several hours after the main clean. Open and close the window, draw the curtains once and briefly run the now-clean radiator. The next day, take a white cloth to five places: the bottom frame channel, the sill edge, the radiator's top grille, the skirting below the window and the floor beneath the curtain.
If you find a faint film only there, do not repeat the whole post renovation cleaning routine. Vacuum the specific channel or radiator, wipe horizontal surfaces with a barely damp microfibre cloth, then spot-mop the floor. Ten focused minutes beat another evening spent moving dirty water around the flat.
Call the installer if a large quantity of white powder keeps returning, the reveal is still crumbling or dirt appears inside a sealed glazing unit. Those are not cleaning defects. Photograph the area in daylight and report it while the handover is still recent.
When professional cleaning is worth it
Most people can handle one window in an empty room. Five windows in a furnished three-bedroom flat are different. So is a tall double window in a Vinohrady apartment, fresh plaster sanding or a room with delicate parquet. Professional help also makes sense for allergy-sensitive households, large textile surfaces and construction dust in radiators that an ordinary nozzle cannot reach.
In the enquiry, state the number and type of windows, frame material, floor level, outside access and condition of the reveals. Add daylight photos of the channels, radiators and floor. Confirm whether the quote includes both sides of the glass, installation residue, radiators, curtain care and a short return visit. Standard "window cleaning" does not automatically cover final cleaning after fitting.
For a wider job, see our guide to post-renovation cleaning and fine dust. If the work is specifically around new windows, heating and nearby finishes, cleaning after window replacement is a service worth naming precisely. ČistýKout is a Prague-based option for finding help. Send a no-obligation cleaning enquiry with a clear scope so the cleaner can quote for the work you actually need.